
In Part 5, we successfully connected our rich-text Campaign content to Rails' email system using Action Mailer. We designed beautiful, personalized emails and verified their look in the Mailer Previews.
Now, we hit the big, scary button: Send.
Slamming that button on a list of hundreds or thousands of subscribers cannot run in the main web process. It would freeze the user's browser, cause a timeout, and make the whole app feel sluggish. We need to go asynchronous and handle the heavy lifting outside the user's request cycle.
This is where Solid Queue, Rails’ simple, reliable, and native job backend, shines. We’re building the engine that takes our single campaign and fires off thousands of personalized emails in the background.
This reliance on native Rails tools extends to the database. Since Solid Queue is a database-backed job runner, all job data (job class, arguments, queue, execution status) is persistently stored in dedicated tables within your existing database. To see the structure, check out the generated queue tables in db/queue_schema.rb
Mailstify Table of Contents
- Mailstify #1 - The Audience Blueprint: Structuring Models for Integrity
- Mailstify #2 - User Identity and Multi-Tenancy (Built-in Auth)
- Mailstify #3 - Go Dynamic! Building Real-Time Audience Lists (The Hotwire Way)
- Mailstify #4 - Design the Campaign: Rich Content with Action Text
- Mailstify #5 - Email Logic and Previews (Action Mailer)
- Mailstify #6: Asynchronous Bulk Dispatch (Solid Queue) 👈 (You are here)
1. Generating the Active Job Class
Active Job is Rails' standard API for abstracting background work. We need a dedicated job to handle the bulk processing: iterating over the list and enqueuing the individual emails.
Run the generator:
bin/rails generate job campaign_dispatch
This creates the file we need: app/jobs/campaign_dispatch_job.rb.
2. Writing the Bulk Dispatch Logic
Open app/jobs/campaign_dispatch_job.rb. This job will be passed the Campaign object. Its mission is to be fast by delegating the actual network I/O (sending the email) to smaller, individual jobs.
The Strategy: The CampaignDispatchJob does not send emails. It simply iterates over the list's subscribers and tells Active Job to enqueue a CampaignMailer delivery for each one. This is key for personalization and stability.
# app/jobs/campaign_dispatch_job.rb

class CampaignDispatchJob < ApplicationJob
  # Use the standard queue defined in config/application.rb
  queue_as :default

  def perform(campaign.id)
    # Reload the campaign to ensure we have the latest version (e.g., status is up-to-date)
    @campaign = Campaign.find(campaign_id)campaign.reload
    @list = @campaign.list

    # --- STATUS UPDATE (Will be finalized in Part 7) ---
    # @campaign.update!(status: :sending)
    # ----------------------------------------------------

    # Find subscribers belonging to the campaign's list.
    # We use .find_each to handle huge lists efficiently, batching the database queries.
    @list.subscribers.find_each do |subscriber|

      # IMPORTANT: Use #deliver_later to enqueue the *mailer* job.
      # This delegates the actual email network call to a new, small Active Job.
      CampaignMailer.campaign_email(@campaign, subscriber).deliver_later

    end

    # --- STATUS UPDATE (Will be finalized in Part 7) ---
    # @campaign.update!(status: :sent)
    # ----------------------------------------------------
  end
end
Boom. This is the core engine. It's clean, efficient, and built entirely using native Rails tools (ApplicationJob, find_each, deliver_later).
3. Implementing the "Send Campaign" Action
We need to create the endpoint that the user's "Send" button will hit. This action's sole responsibility is to enqueue the bulk job and return a response immediately.
A. Define the Route
Add a custom member route to config/routes.rb inside your resources :campaigns block. This creates the route POST /campaigns/:id/send_campaign.
# app/controllers/campaigns_controller.rb
class CampaignsController < ApplicationController
# ... existing code ...
def send_campaign
@campaign = Current.user.campaigns.find(params[:id])
# Basic check: Ensure we have content before enqueuing
unless @campaign.body.present?
redirect_to @campaign, alert: "Can't dispatch an empty campaign!" and return
end
# The zero-dependency magic line: Enqueue the job!
CampaignDispatchJob.perform_later(@campaign.id)
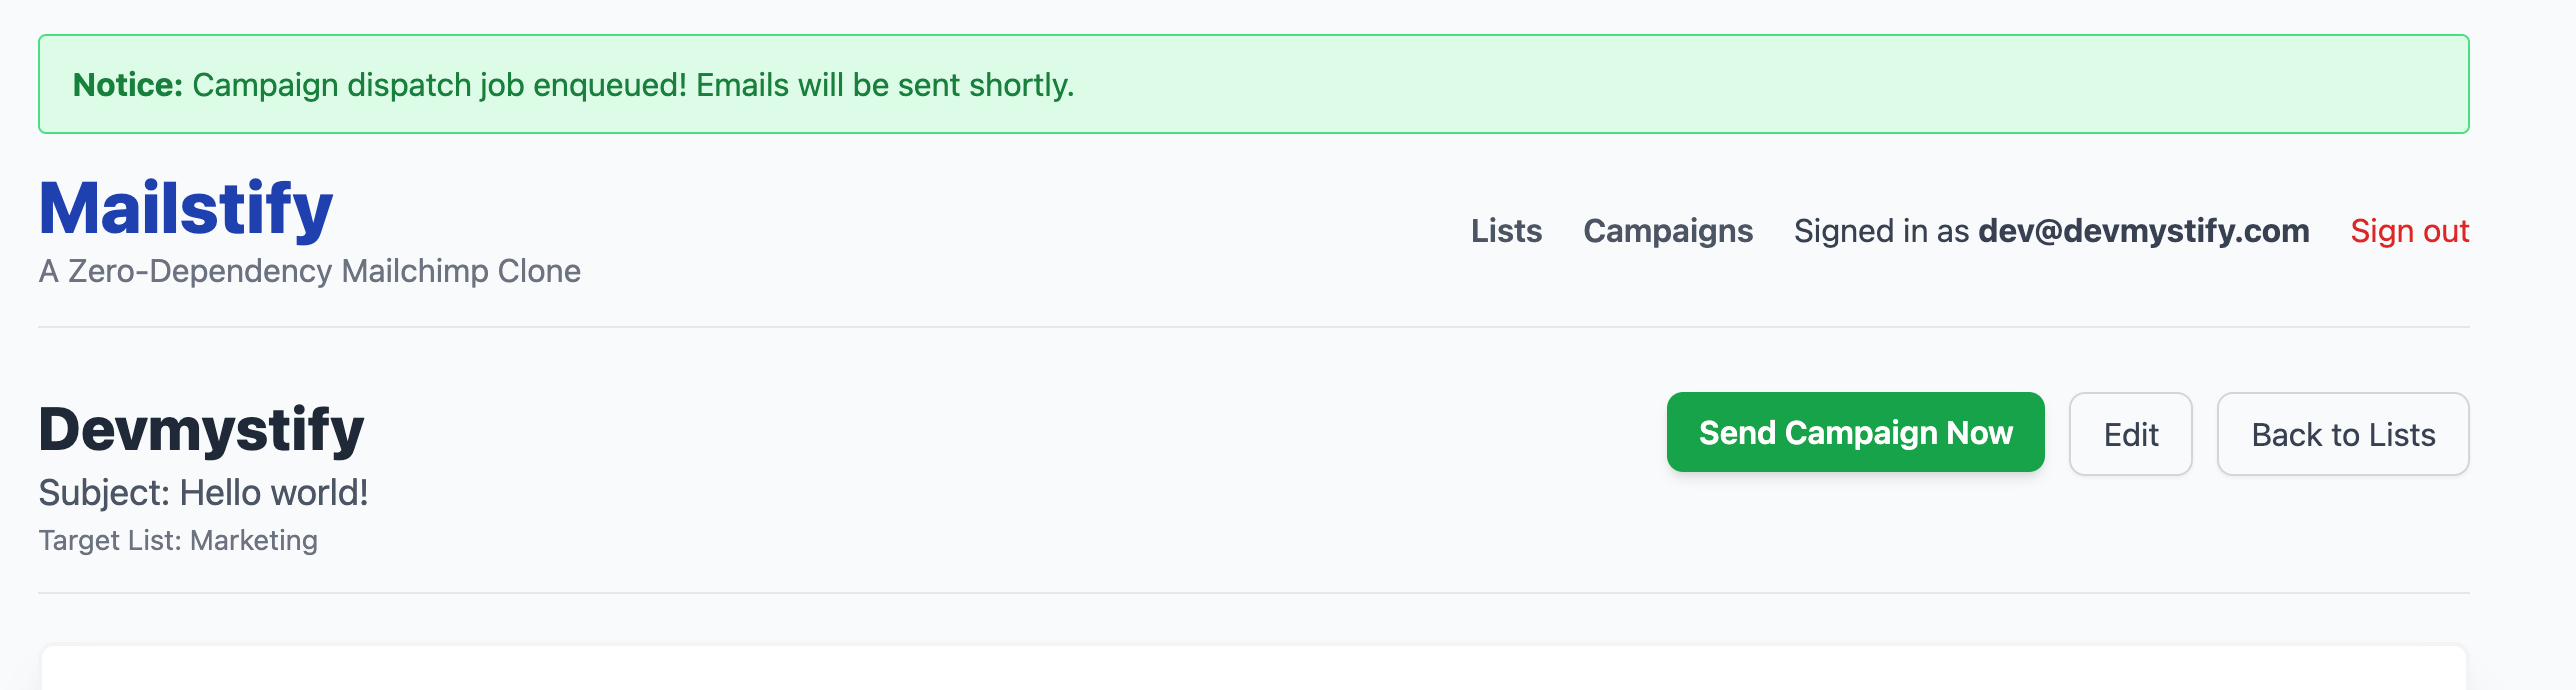
redirect_to @campaign, notice: "Campaign dispatch job enqueued! Emails will be sent shortly."
rescue ActiveRecord::RecordNotFound
redirect_to lists_url, alert: "Campaign not found or unauthorized access."
end
# ... private methods below ...
end
C. Add a "Dispatch" Button to the Preview
We need to update the campaigns/show.html.erb preview page to display the button. Since we're not using the status yet (that's Part 7), let's enable the button.
Modify the campaign show view's header to enable the "Send Campaign Now" button
<%# app/views/campaigns/show.html.erb (The buttons section) %>

<div class="flex justify-between items-start mb-6 border-b pb-4">
  <div>
    <%# ... campaign name/subject ... %>
  </div>

  <div class="flex space-x-3">
    <%# Replace the disabled button with a functional one %>
    <%= button_to "Send Campaign Now",
                  send_campaign_campaign_path(@campaign),
                  method: :post,
                  data: { turbo_confirm: "Are you sure you want to send this to #{@campaign.list.subscribers.count} subscribers?" },
                  class: "bg-green-600 text-white font-semibold py-2 px-4 rounded-lg shadow-md cursor-pointer hover:bg-green-700 transition duration-150" %>

    <%= link_to "Edit", edit_campaign_path(@campaign), class: "py-2 px-4 border border-gray-300 rounded-lg shadow-sm text-gray-700 hover:bg-gray-100" %>
    <%= link_to "Back to Lists", lists_path, class: "py-2 px-4 border border-gray-300 rounded-lg shadow-sm text-gray-700 hover:bg-gray-100" %>
  </div>
</div>

<%# ... rest of the campaign show view ... %>
D. Displaying the Flash Message
To ensure the success notification is visible after the redirect, you must add the flash rendering logic to the application layout.
Insert the following code block inside the <div class="container mx-auto p-4 md:p-8"> tag, and before the <header> tag in app/views/layouts/application.html.erb.
<!DOCTYPE html>
<html>
  # ....
  <body class="bg-gray-50 min-h-screen">
    <div class="container mx-auto p-4 md:p-8">

      <%# --- START: Flash Message Display --- %>
      <% flash.each do |type, msg| %>
        <%# Map Rails flash types (notice, alert) to Tailwind classes %>
        <% css_class = type.to_s == 'notice' ? 'bg-green-100 border-green-400 text-green-700' : 'bg-red-100 border-red-400 text-red-700' %>
        <div class="<%= css_class %> px-4 py-3 rounded relative mb-4 border" role="alert">
          <strong class="font-bold"><%= type.capitalize %>:</strong>
          <span class="block sm:inline"><%= msg %></span>
        </div>
      <% end %>
      <%# --- END: Flash Message Display --- %>

      <header class="mb-8 border-b pb-4 flex items-center justify-between">
	    </header>

      # ....
    </div>
  </body>
</html>
4. Setting Up and Monitoring the Solid Queue Worker
Remember, running the app with rails s handles the web server, but not the background jobs. We need to start the dedicated worker process that will be listening for jobs in the Solid Queue tables.
A. Start the Worker Process
Open a separate terminal window from the one running your main rails s server. This new terminal is the lifeblood of our asynchronous system.
bin/rails solid_queue:start
The worker will boot up, showing that it's monitoring the queues defined in your setup (like :default).
B. Ensuring Worker Visibility (Logging Fix)
To ensure the worker prints its execution logs to the terminal, we need to explicitly set the logger to output to $stdout in development.
Add the following configuration to config/environments/development.rb:
Rails.application.configure do
  # ...
  config.logger = ActiveSupport::Logger.new($stdout)
  # ...
end
Restart your web server and worker. Now, when you click "Send":
- Your browser displays the flash message (e.g., "Campaign dispatch job enqueued!").
- Your worker terminal will immediately show the logs proving that:
- The
CampaignDispatchJobis picked up. - The worker picks up each
ActionMailer::MailDeliveryJoband performs the actual email sending.
- The
You have successfully built a robust, non-blocking, asynchronous bulk email dispatch system using only native Rails tools!
Conclusion of Part 6: Full Async Power
We've connected the final piece of our Mailstify engine. By leveraging Active Job and Solid Queue, we now have a production-ready mechanism for sending thousands of emails without blocking the user interface. This is the difference between a simple CRUD app and a true, professional-grade email service.
In Part 7, we'll focus on the final polish: adding a simple status indicator for campaigns (Draft, Sending, Sent) and implementing a basic history log/counter for sent emails, officially wrapping up our zero-dependency Mailchimp clone.
