
Part 2: User Identity and Multi-Tenancy (Built-in Auth)
In Part 1, we successfully established the core models for Mailstify: List, Subscriber, and Campaign. While we can technically manage lists now, the application is completely unsecured: anyone can access the scaffolded controllers to view or delete our data.
Before we build any dynamic user interfaces, we must secure the application and enforce multi-tenancy. This means every List and Campaign must belong to a specific User, and users must only be able to see their own data.
We will achieve this by leveraging the Rails 8 built-in authentication generator, ensuring our zero-dependency philosophy remains intact.
Mailstify Table of Contents
- Mailstify #1 - Let's Build A Zero-Dependency Mailchimp Clone in with Ruby on Rails 8
- Mailstify #2 - User Identity and Multi-Tenancy (Built-in Auth) 👈 (You are here)
1. Generating the Security Layer
A. Authentication Scaffold and User Model
Let’s begin by generating the necessary controllers, views, and the core User model using the native generator:
bin/rails generate authentication
Then, migrate the database to add the User and Session tables:
bin/rails db:migrate
Now, let’s open the Rails console to create a User:
bin/rails console
Use User.create! method to create a User in the Rails console. Feel free to use your own email and password instead of the example below:
User.create! email_address: "dev@mailstify.com", password: "devmystify", password_confirmation: "devmystify"
Finally, restart your Rails server so it picks up the bcrypt gem that was added by the generator.
BCrypt
is used for securely hashing passwords for authentication.
rails s
When you visit any page, Rails will prompt for a username and password. Simply enter the email and password you used when creating the User record.
Now, try it all out by visiting http://localhost:3000/lists/new .
If you enter the correct username and password, it will let you through and create a valid session, allowing your to browse the app as an authenticated user.
B. Establish Multi-Tenancy Relationships
We must now associate our business objects (List and Campaign) with the User model. This is the foundation of data isolation.
# app/models/list.rb
class List < ApplicationRecord
  # NEW: Add the link to the user
  belongs_to :user

  has_many :subscribers, dependent: :destroy
  has_many :campaigns, dependent: :destroy

  # Ensure the list owner is always present
  validates :user, presence: true
  validates :name, presence: true
end
# app/models/campaign.rb
class Campaign < ApplicationRecord
  # NEW: Add the link to the user
  belongs_to :user

  belongs_to :list
  has_rich_text :body

  # Ensure the campaign owner is always present
  validates :user, presence: true
  validates :name, :subject, presence: true
end
C. Database Migration
The lists and campaigns tables need a user_id column to store ownership information. We use a migration to add these foreign keys.
# Add user_id column to lists table
bin/rails generate migration AddUserRefToLists user:references

# Add user_id column to campaigns table
bin/rails generate migration AddUserRefToCampaigns user:references

# Run the migrations
bin/rails db:migrate
At this point, if you went through the first chapter of this series, you might run into an error. If not, feel free to skip this part.
== 20251029085803 AddUserRefToLists: migrating ================================
-- add_reference(:lists, :user, {null: false, foreign_key: true})
bin/rails aborted!
StandardError: An error has occurred, this and all later migrations canceled: (StandardError)

SQLite3::ConstraintException: NOT NULL constraint failed: lists.user_id
The problem is that, in part 1, we created a list without a user association. When we tried to run the migration with the user column set to NOT NULL, it conflicted with the existing list. We now have two options: either drop the old lists or modify the migration file.
Since this is a tutorial, we’ll simply reset the data in our database - after all, we haven’t pushed this to production yet, so it’s fine. However, if we had already deployed this live, we would need to create a combination of rake tasks and migrations to properly migrate things. This is outside of the scope of this tutorial, so we’ll proceed with a quick DB cleanup.
# Use these command in Rails console (rails c) to remove the existing lists & campaigns.
List.delete_all
Campaign.delete_all
After cleaning everything up, run bin/rails db:migrate again, and it will run successfully:
❯ bin/rails db:migrate
== 20251029085803 AddUserRefToLists: migrating ================================
-- add_reference(:lists, :user, {null: false, foreign_key: true})
   -> 0.0058s
== 20251029085803 AddUserRefToLists: migrated (0.0058s) =======================

== 20251029085807 AddUserRefToCampaigns: migrating ============================
-- add_reference(:campaigns, :user, {null: false, foreign_key: true})
   -> 0.0132s
== 20251029085807 AddUserRefToCampaigns: migrated (0.0132s) ===================
---

## 2. Enforcing Access Control

### A. Application-Wide Security

The **`include Authentication`** line, provided by the authentication scaffold, is our single point of access control. We enforce it on every request via the base controller:

```ruby
# app/controllers/application_controller.rb
class ApplicationController < ActionController::Base
  # This line forces login on every page load unless explicitly skipped.
  include Authentication

  # ...
end
B. Implementing Data Scoping in Controllers
When a user accesses the dashboard, they must only see their own data. So we must adjust the controllers to scope all queries through Current.user.
Let’s update that in app/controllers/lists_controller.rb:
# GET /lists or /lists.json
  def index
    # Scope lists to the current user
    @lists = Current.user.lists.all
  end
# GET /lists/new
  def new
    @list = Current.user.lists.new
  end
  # POST /lists or /lists.json
  def create
    # Build through the user association to automatically set user_id
	@list = Current.user.lists.new(list_params)

    respond_to do |format|
      if @list.save
        format.html { redirect_to list_url(@list), notice: "List was successfully created." }
        format.json { render :show, status: :created, location: @list }
      else
        format.html { render :new, status: :unprocessable_entity }
        format.json { render json: @list.errors, status: :unprocessable_entity }
      end
    end
  end
  # PATCH/PUT /lists/1 or /lists/1.json
  def update
    respond_to do |format|
      if @list.update(list_params)
        format.html { redirect_to list_url(@list), notice: "List was successfully updated." }
        format.json { render :show, status: :ok, location: @list }
      else
        format.html { render :edit, status: :unprocessable_entity }
        format.json { render json: @list.errors, status: :unprocessable_entity }
      end
    end
  end
  # DELETE /lists/1 or /lists/1.json
  def destroy
    @list.destroy!

    respond_to do |format|
      format.html { redirect_to lists_url, notice: "List was successfully destroyed." }
      format.json { head :no_content }
    end
  end
private
    # Use callbacks to share common setup or constraints between actions.
    def set_list
      # Find list scoped by user and rescue if not found/unauthorized
      @list = Current.user.lists.find(params[:id])
    rescue ActiveRecord::RecordNotFound
      redirect_to lists_url, alert: "List not found or unauthorized access."
    end
3. UI Integration and Layout
We now need to implement a simple authentication flow.
A. Routes
Add the authentication routes and ensure the root route is defined after them.
# config/routes.rb
Rails.application.routes.draw do
  # ...Existing resources
  resources :users, only: [:new, :create] # Only allow signup/new user creation

  # ... Existing resources
end
B. Layout
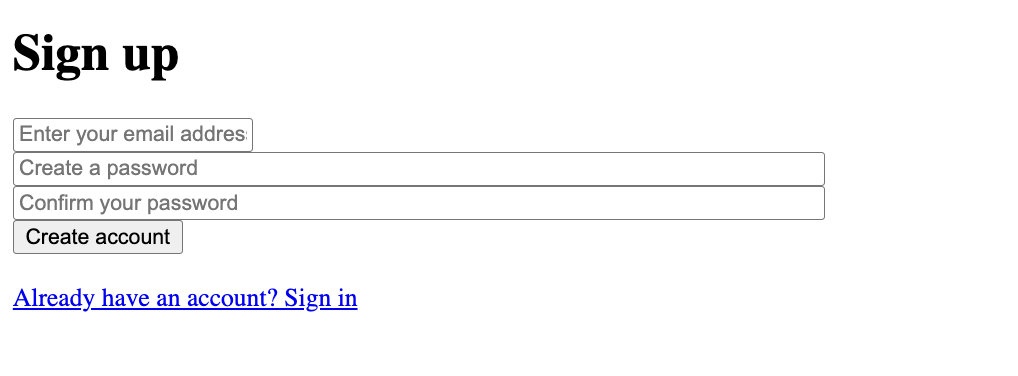
Create app/views/users/new.html.erb and build a simple form:
<%= tag.div(flash[:alert], style: "color:red") if flash[:alert] %>
<%= tag.div(flash[:notice], style: "color:green") if flash[:notice] %>

<h1>Sign up</h1>

<%= form_with model: @user, url: users_path do |form| %>
  <%= form.email_field :email_address, required: true, autofocus: true,
        autocomplete: "username", placeholder: "Enter your email address",
        value: @user.email_address %><br>

  <%= form.password_field :password, required: true, autocomplete: "new-password",
        placeholder: "Create a password", maxlength: 72 %><br>

  <%= form.password_field :password_confirmation, required: true, autocomplete: "new-password",
        placeholder: "Confirm your password", maxlength: 72 %><br>

  <%= form.submit "Create account" %>
<% end %>

<br>

<%= link_to "Already have an account? Sign in", new_session_path %>
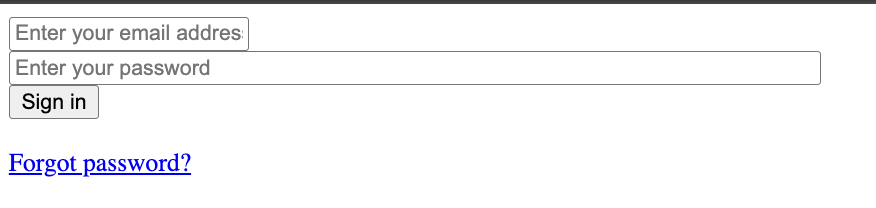
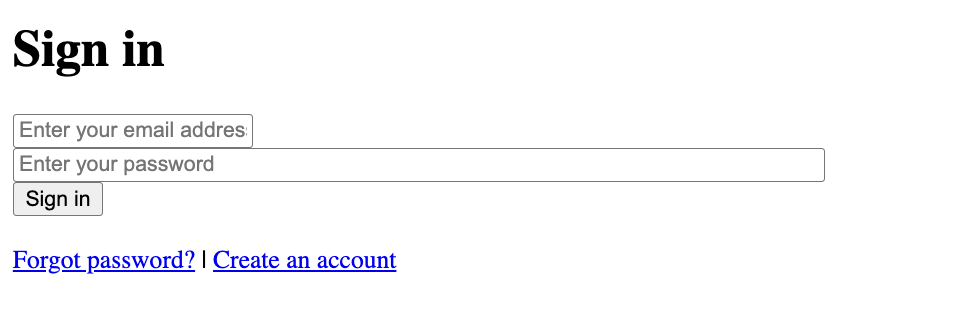
Update the login form app/views/sessions/new.html.erb:
<%= tag.div(flash[:alert], style: "color:red") if flash[:alert] %>
<%= tag.div(flash[:notice], style: "color:green") if flash[:notice] %>

<h1>Sign in</h1>

<%= form_with url: session_path do |form| %>
  <%= form.email_field :email_address, required: true, autofocus: true,
        autocomplete: "username", placeholder: "Enter your email address",
        value: params[:email_address] %><br>

  <%= form.password_field :password, required: true, autocomplete: "current-password",
        placeholder: "Enter your password", maxlength: 72 %><br>

  <%= form.submit "Sign in" %>
<% end %>

<br>

<%= link_to "Forgot password?", new_password_path %> |
<%= link_to "Create an account", new_user_path %>
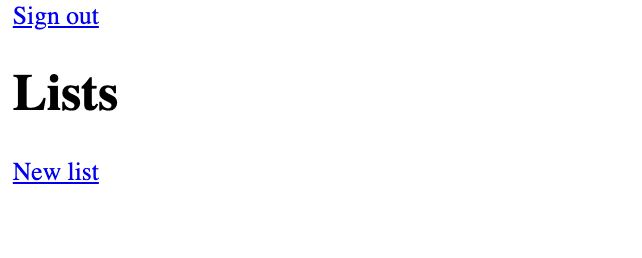
Lastly, update the main layout to have a sign-out button in app/views/layouts/application.html.erb:
  <body>
    <% if Current.user %>
      <%= link_to "Sign out", session_path, data: { turbo_method: :delete } %>
    <% end %>
    <%= yield %>
  </body>
Conclusion of Part 2
We have successfully implemented a robust, zero-dependency authentication system using the Rails 8 native stack. No Devise needed.
We've locked down the core application and, more importantly, enforced multi-tenancy at every layer. The data is now safe, and users are only able to see their own lists and campaigns, a simple but fundamental requirement to build a professional-grade app!
We now have a solid foundation to proceed with the next set of features.
In Part 3, we will be using Hotwire (Turbo Frames and Streams) to build a dynamic audience management system without writing any custom JavaScript. We’ll also bring our pages to life and give them a fresh, polished look using Tailwind CSS!
