This chapter connects your rich-text Campaign content to Rails' email delivery system. We'll create a dedicated mailer class to handle sending, implement personalization, and configure the necessary preview environment.
Mailstify Table of Contents
- Mailstify #1 - The Audience Blueprint: Structuring Models for Integrity
- Mailstify #2 - User Identity and Multi-Tenancy (Built-in Auth)
- Mailstify #3 - Go Dynamic! Building Real-Time Audience Lists (The Hotwire Way)
- Mailstify #4 - Design the Campaign: Rich Content with Action Text
- Mailstify #5 - Email Logic and Previews (Action Mailer) 👈 (You are here)
1. Generate the Action Mailer Class
Every email type needs its own mailer class. We'll generate one specifically for sending campaigns:
bin/rails generate mailer campaign
This command creates:
app/mailers/campaign_mailer.rbapp/mailers/application_mailer.rb(if not already present)- Directories for email templates (
app/views/campaign_mailer/)
2. Design the Mailer Action
Open app/mailers/campaign_mailer.rb and define the action responsible for sending the email. This action will accept the Campaign object and a Subscriber object for personalization:
class CampaignMailer < ApplicationMailer
  # The method name (e.g., campaign_email) must match the template name
  def campaign_email(campaign, subscriber)
    # Store objects for access in the view templates
    @campaign = campaign
    @subscriber = subscriber

    # Use the Campaign's subject line
    mail(
      to: @subscriber.email,
      subject: @campaign.subject,
      from: "Mailstify <noreply@mailstify.com>" # Use your desired sender address
    )
  end
end
3. Design the Email Templates
Action Mailer uses standard ERB templates, defaulting to multi-part emails (HTML and plain text). The template files must match the action name (campaign_email).
A. HTML Template (campaign_email.html.erb)
This template will render the rich content from Action Text. The raw helper is crucial here because the ActionText::RichTextobject renders safe HTML which should not be re-escaped by ERB.
Create app/views/campaign_mailer/campaign_email.html.erb:
<!DOCTYPE html>
<html>
<head>
  <meta content='text/html; charset=UTF-8' http-equiv='Content-Type' />
  <style>
    /* Basic email client compatibility styles */
    body { font-family: Arial, sans-serif; }
    .content-container { max-width: 600px; margin: 0 auto; padding: 20px; }
  </style>
</head>
<body>
  <div class="content-container">
    <p>Hi <%= @subscriber.name || 'there' %>,</p>

    <%= raw @campaign.body %>

    <hr style="margin-top: 30px; border: 0; border-top: 1px solid #eee;">
    <p style="font-size: 12px; color: #999;">
      You received this email because you subscribed to <%= @campaign.list.name %>.
    </p>
  </div>
</body>
</html>
B. Plain Text Template (campaign_email.text.erb)
Plain text templates are essential for accessibility and for email clients that block HTML.
Create app/views/campaign_mailer/campaign_email.text.erb:
Hi <%= @subscriber.name || 'there' %>,

<%= @campaign.body.to_plain_text %>

---

You received this email because you subscribed to <%= @campaign.list.name %>.
4. Implement Basic Email Personalization
Personalization is implemented by accessing the @subscriber instance variable (set in the mailer) directly in the templates.
- In both templates, we used:
<%= @subscriber.name || 'there' %> - In the text template, we used:
<%= @campaign.body.to_plain_text %>(Action Text provides a simple method to strip HTML).
5. Configure and Use Mailer Previews
Mailer Previews allow you to check the rendering of your email templates in the browser without sending any actual mail. This is vital for debugging layout issues.
A. Configure the Preview Host
Since your templates use full URLs (for images), you must set the host for the preview environment.
Update config/environments/development.rb with:
# config/environments/development.rb

Rails.application.configure do
  # ... other settings ...

  # Ensure these lines are present to generate correct links in emails/previews
  config.action_controller.default_url_options = { host: 'localhost', port: 3000 }
  config.action_mailer.default_url_options = { host: 'localhost', port: 3000 }
end
B. Create the Mailer Preview Class
The Mailer Preview class is located in the root /test directory.
Create the file at test/mailers/previews/campaign_mailer_preview.rb:
# test/mailers/previews/campaign_mailer_preview.rb

# Preview all emails at <http://localhost:3000/rails/mailers/campaign_mailer>
class CampaignMailerPreview < ActionMailer::Preview
  def campaign_email
    # 1. Find the latest Campaign with content (you should have one from Part 4)
    campaign = Campaign.last

    # 2. Find a sample Subscriber (or create a dummy one)
    # Assuming you have a List model and a Subscriber model
    list = campaign.list || List.first

    # Create a dummy subscriber if none exists for a reliable preview
    subscriber = Subscriber.new(
      email: "jane.doe@example.com",
      name: "Jane",
      list: list
    )

    # 3. Pass both objects to the mailer action
    CampaignMailer.campaign_email(campaign, subscriber)
  end
end
6. Test the Mailer Preview
Start your Rails server (if it's not running):
rails sNavigate to the Mailer Previews URL in your browser:
http://localhost:3000/rails/mailersClick on the
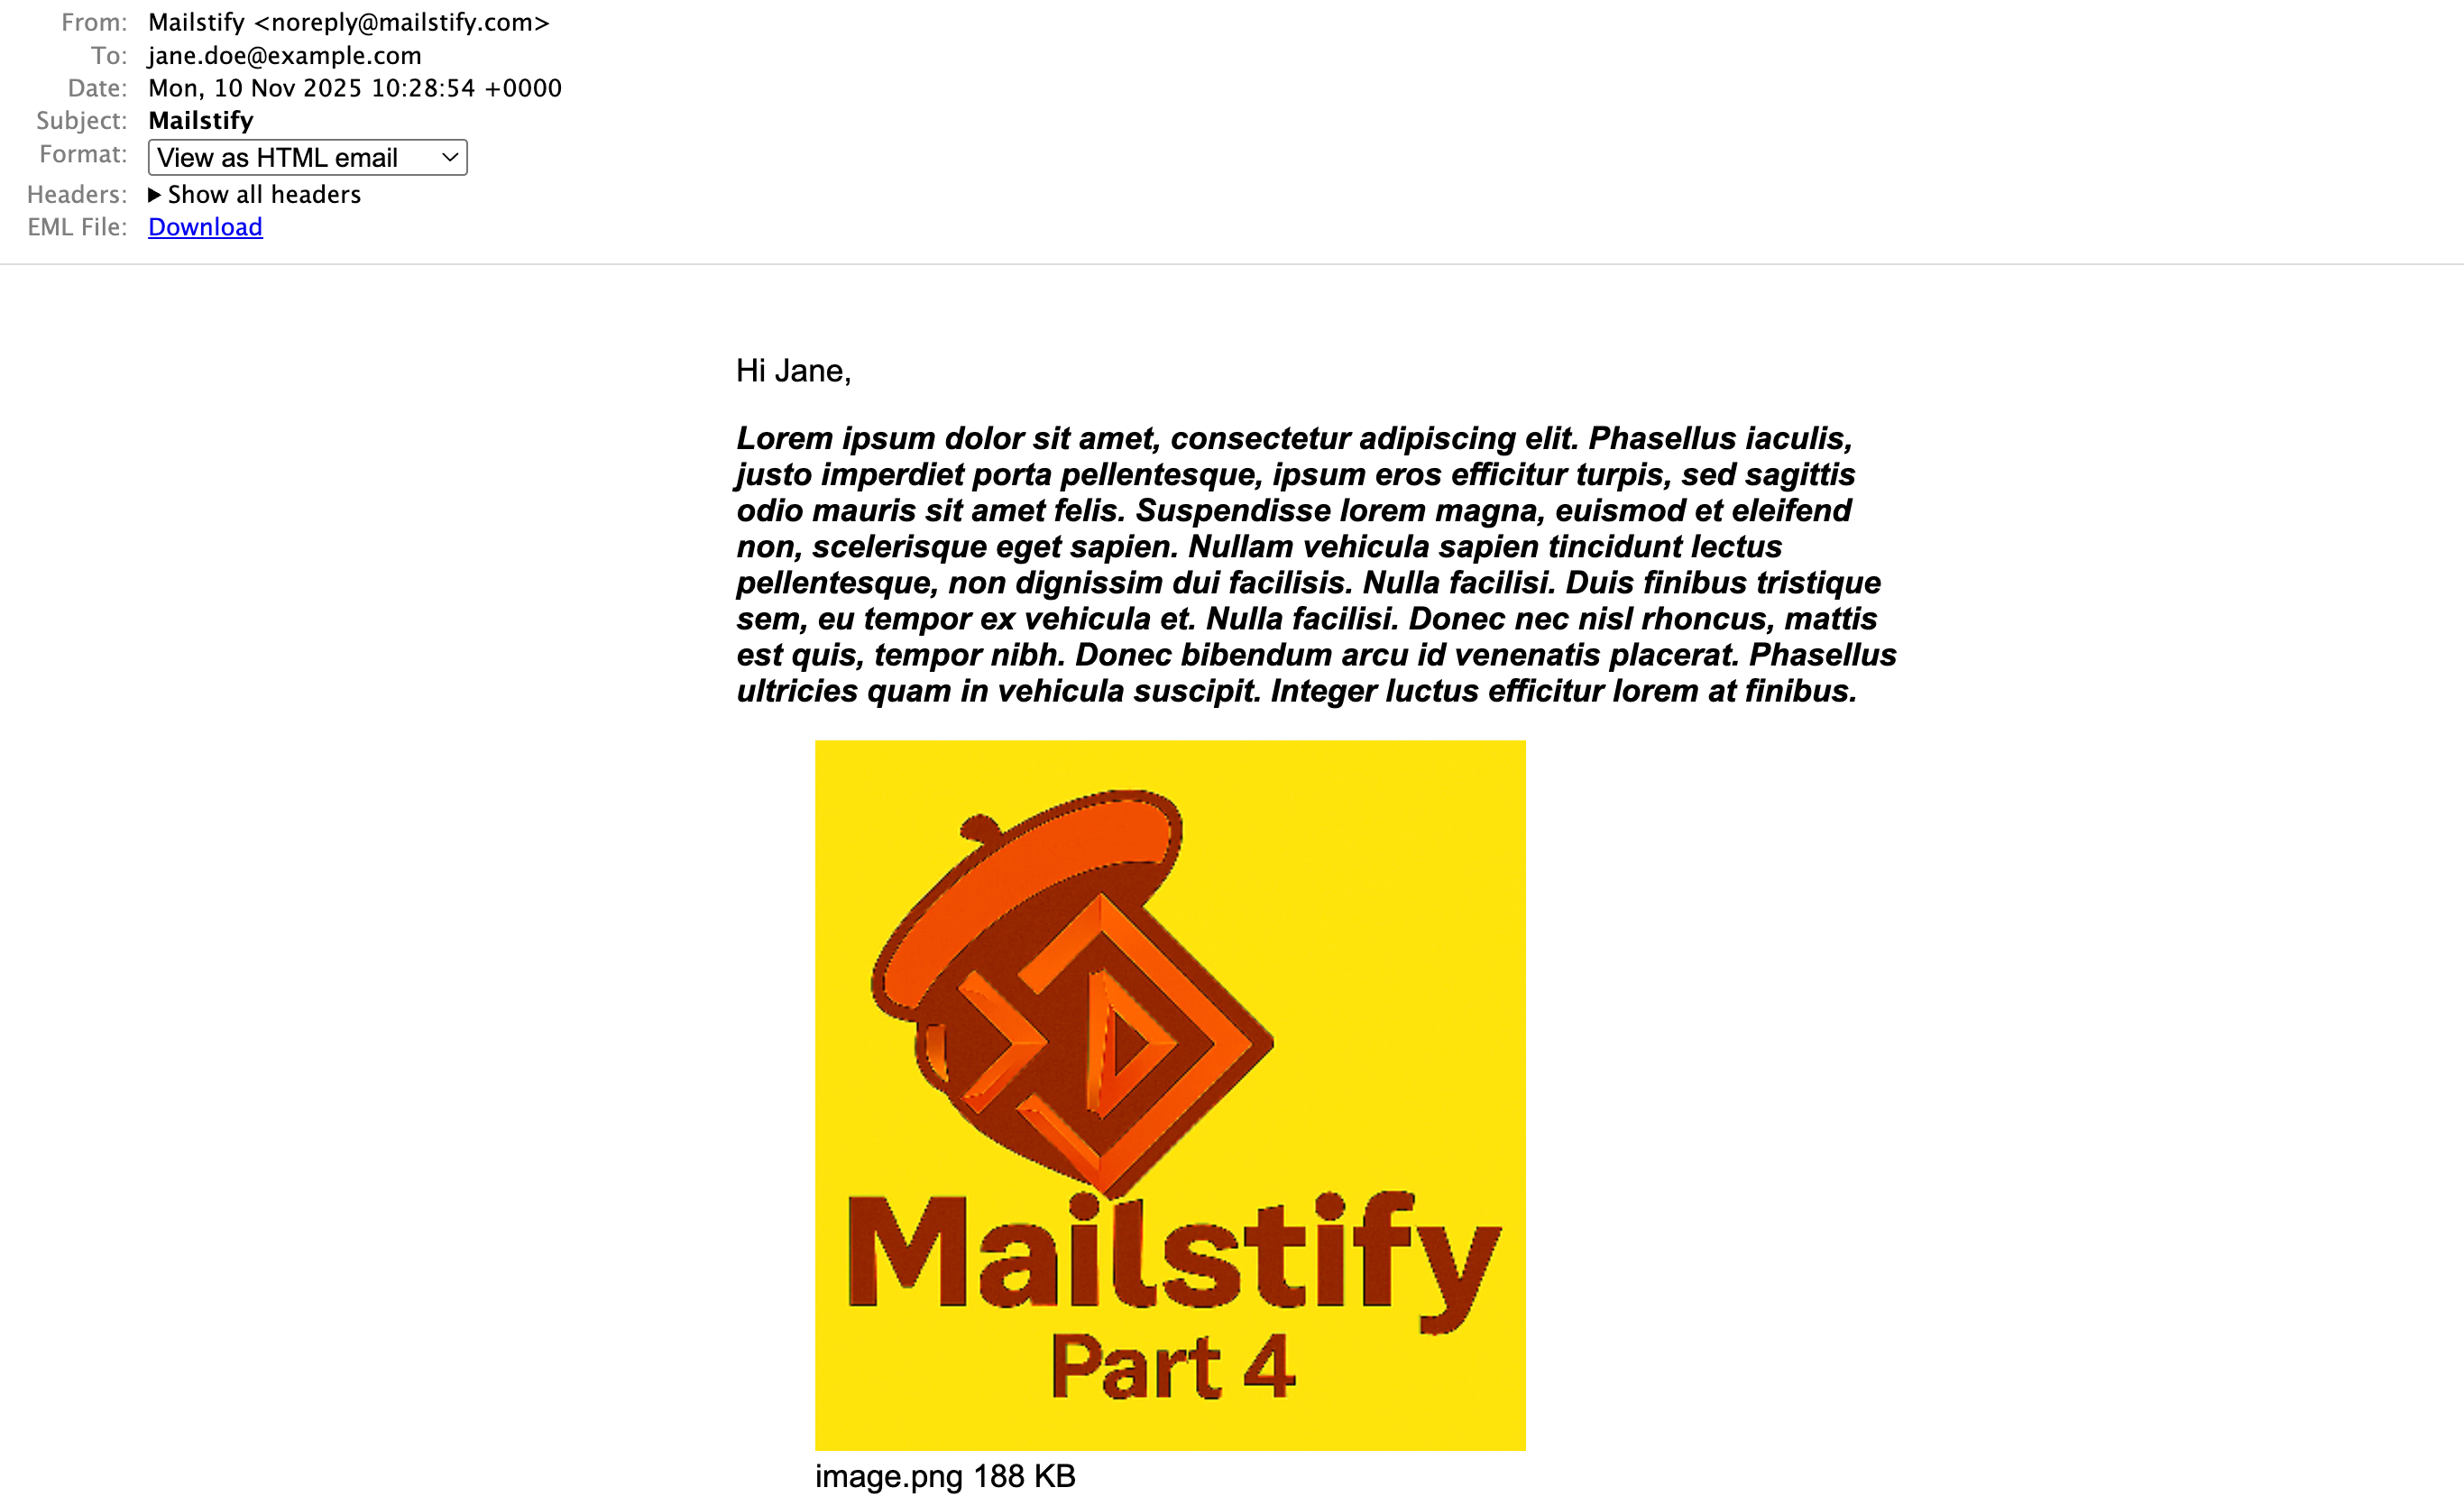
CampaignMailerlink, and then thecampaign_emaillink to view your HTML and Text previews side-by-side. Ensure the rich content renders correctly, including images, and that the personalization (Hi Jane) works.

Conclusion of Part 5: Ready for Dispatch
In this chapter, we successfully integrated our rich campaign content into the Rails email system. We established the CampaignMailer, designed multi-part (HTML and text) templates, and implemented essential personalization using subscriber data. Most critically, we set up the Mailer Preview environment, allowing you to debug and finalize your email design directly in the browser.
The campaign is now fully designed and ready to be sent. In Part 6, we will use Solid Queue to handle the asynchronous bulk dispatch of this email to all subscribers, moving Mailstify closer to a fully functional email service.

