
In the modern development landscape, AI has given rise to a term called "vibe coding": anyone can code, and anyone can ship software fast. While this offers incredible speed and convenience, it often leads to messy architecture and technical debt.
SpecKit is vibe coding on steroids.
It introduces a crucial layer of task separation: we first define what the application is (the data models and contracts), and then allow the execution layer to handle how it is built. By laying out this strict framework, we create a playground where AI agents can execute tasks with surgical precision, knowing exactly what constraints they must operate within.
In this tutorial, we will build Taskify, a React TypeScript application. We will use SpecKit to define our "truth," Codex CLI to act as our scaffolding agent, and LocalStorage for zero-dependency persistence.
1. Installing Specify CLI
The official documentation uses uv, the Python package manager. If you don't have that installed on your system, run this command before installing Specify:
curl -LsSf https://astral.sh/uv/install.sh | sh
If you are on Windows or another OS, check the official installation guide here .
Once uv is ready, you have two options:
Option A: Persistent Installation (Recommended)
uv tool install specify-cli --from git+https://github.com/github/spec-kit.git
Option B: One-time Usage
uvx --from git+https://github.com/github/spec-kit.git specify init <PROJECT_NAME>
The documentation recommends the persistent installation, so I'll go with that. They list several key benefits:
Benefits of persistent installation:
- The tool stays installed and available in your
PATH.- No need to create shell aliases.
- Better tool management via
uv tool list,upgrade, anduninstall.- Cleaner shell configuration.
Sounds good, right?
After the tool is installed, run this command to create your project:
specify init taskify
Next, select your AI of choice. I will use Codex CLI for this tutorial.
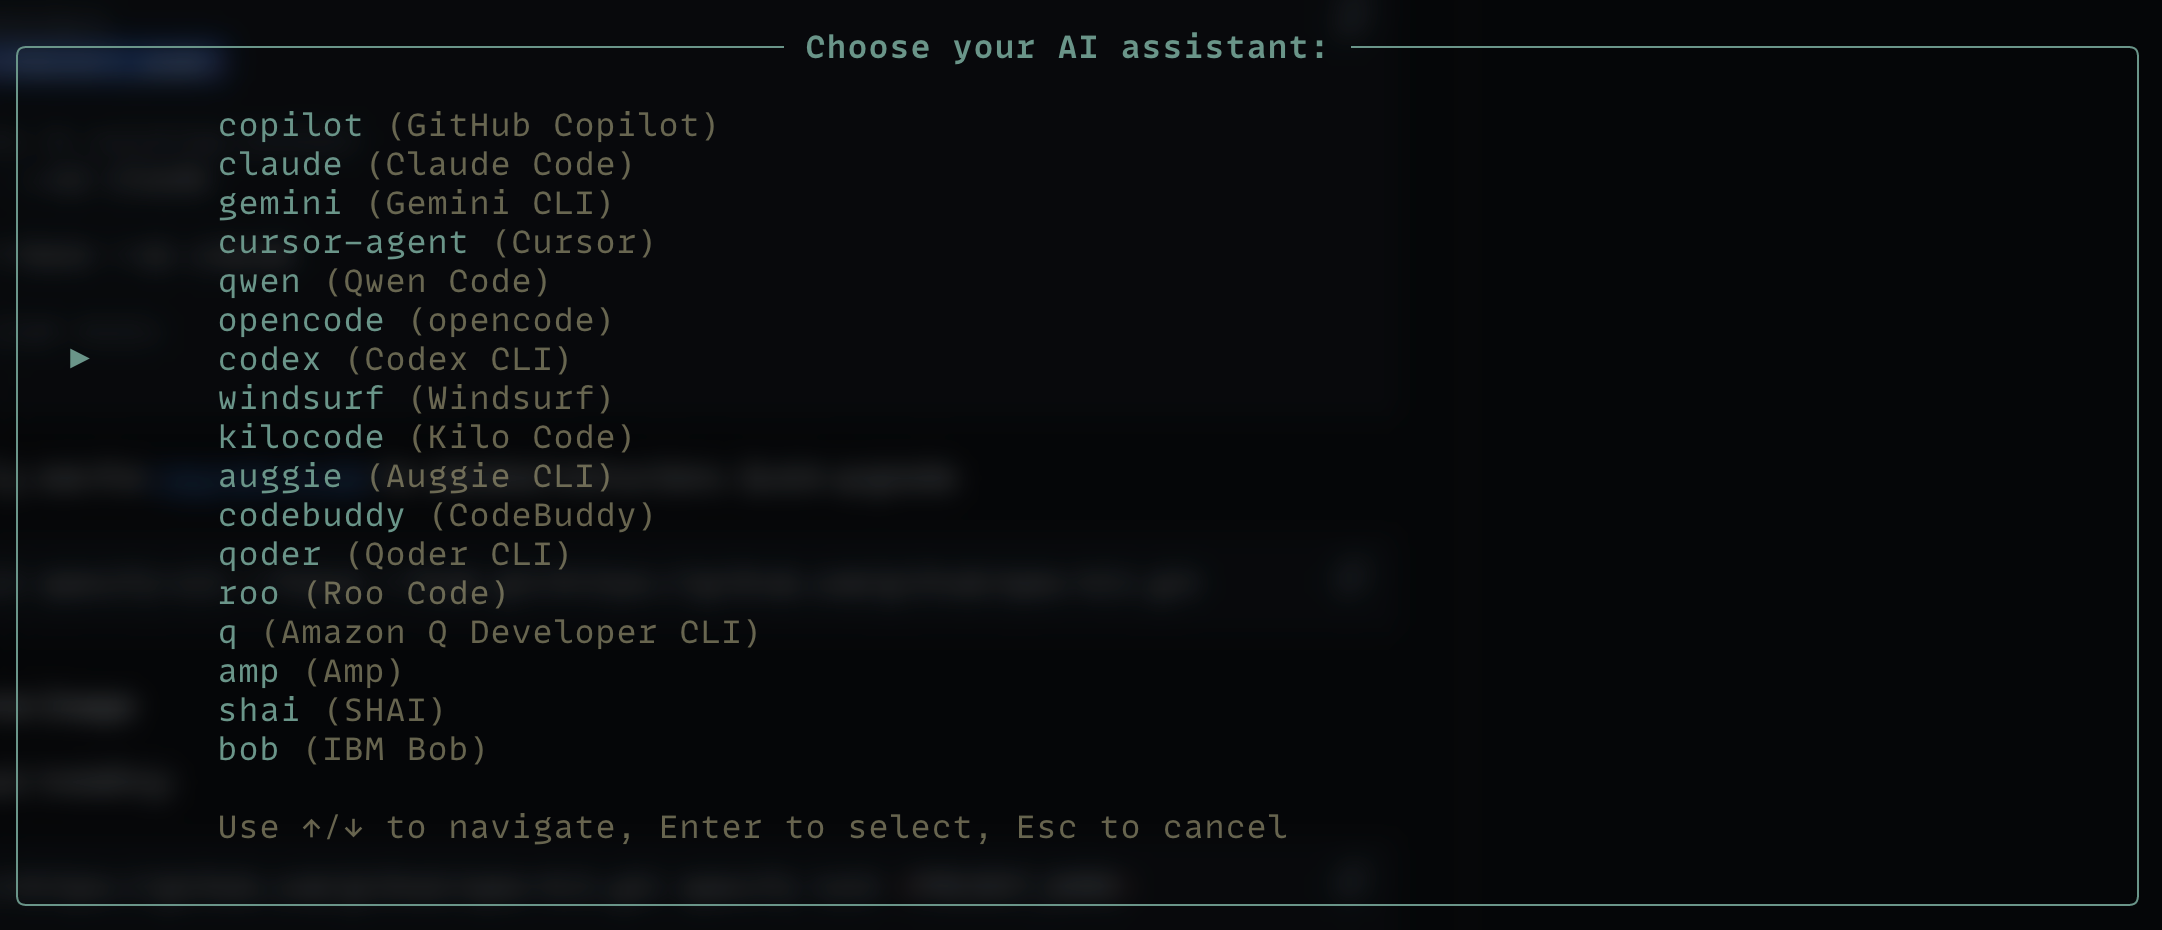
Select the script type of your choice: sh for Unix/Mac and ps for Windows.

After the project is ready, scroll up and follow the instructions provided in the terminal.
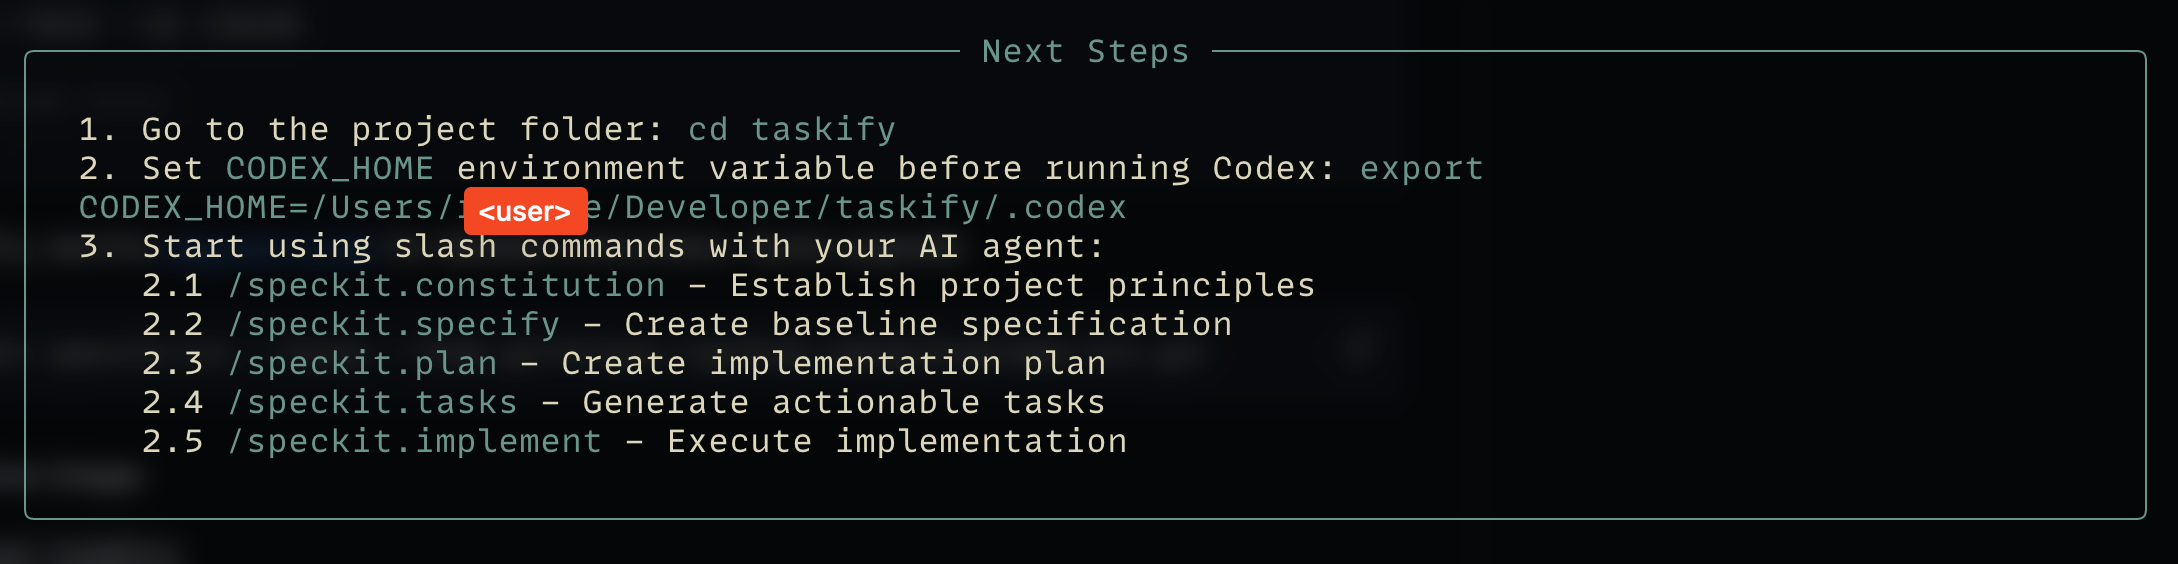
Basically, you just need to cd into the project and set the CODEX_HOME environment variable.
2. The Blueprint: Defining the Spec
Before we write a single line of React code, we must define the boundaries of our system. This is where SpecKit shines.
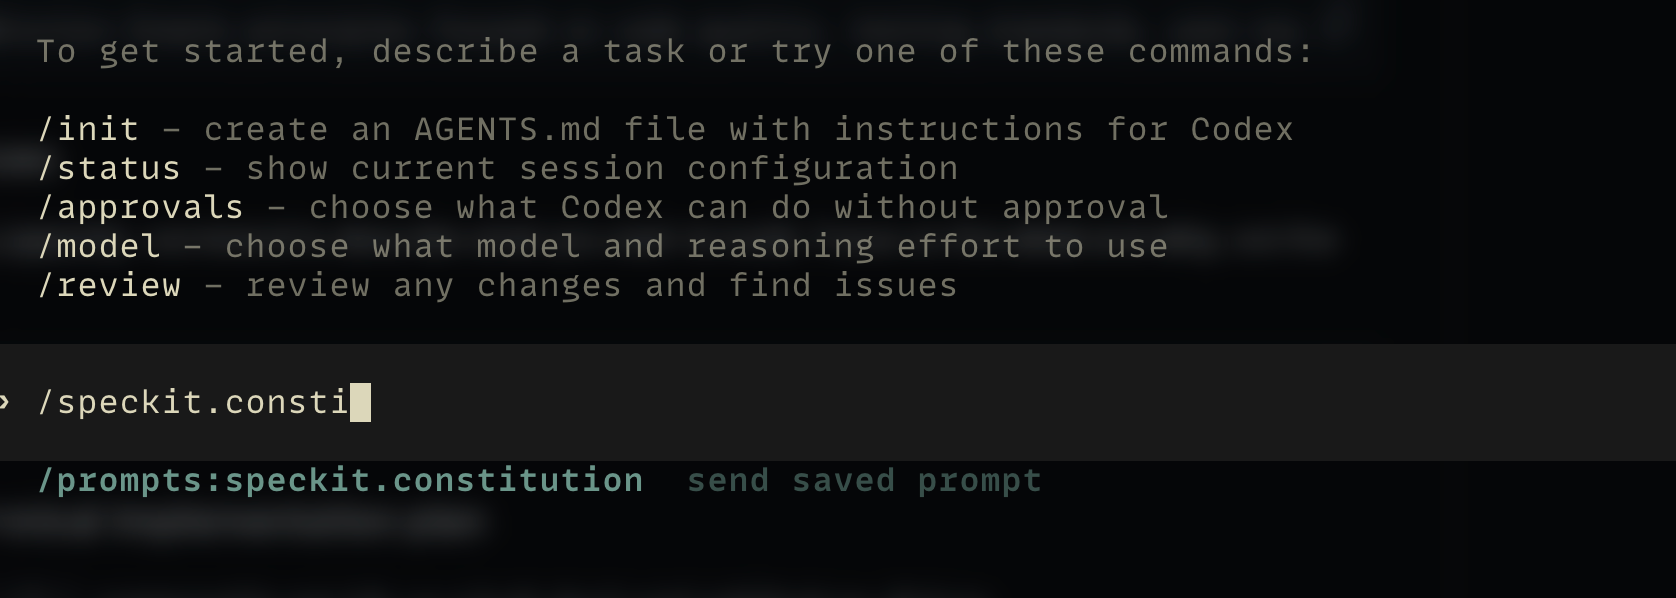
Boot up your AI assistant—in my case, the Codex CLI—using the codex command.
A. Establish Project Principles
Use the /speckit.constitution command to create your project's governing principles. These guidelines will direct all subsequent development.
I'm using Codex CLI, but if you are using a different AI assistant, you can use the following prompt to achieve the same result:
Create principles focused on code quality, testing standards, user experience consistency, and performance requirements.
So, my full command looks like this:
/prompts:speckit.constitution Create principles focused on code quality, testing standards, user experience consistency, and performance requirements
B. The Spec
Use the /speckit.specify command to describe what you want to build. Focus on the what and the why, not the tech stack.

Here is the prompt I used (you can check spec.md inside the specs directory later to read the generated specification):
Build an application that can help me manage my tasks in a board interface. Tasks are grouped into columns by status (e.g., To Do, In Progress, Done) and can be updated by dragging and dropping tasks between columns. Columns are arranged horizontally. Within each column, tasks are displayed as cards containing the task title.
Note: In this step, don't just hit enter and walk away. You may need to grant your AI permission to run shell commands.
C. Implementation Plan
Use the /speckit.plan command to provide your tech stack and architecture choices.

My prompt for the plan:
The application uses Vite with React and TypeScript, strictly using npm for package management. Styling is implemented using Tailwind CSS to create a minimalist interface. The design system merges Notion's modular simplicity with Japanese Zen aesthetics (using soft earth tones, ample whitespace/Ma, and subtle typography). Data is persisted client-side using a local-first approach (e.g., IndexedDB or LocalStorage) to ensure privacy without external API dependencies.
Check plan.md for the details.
D. Break Down into Tasks
Use /speckit.tasks to create an actionable task list from your implementation plan.
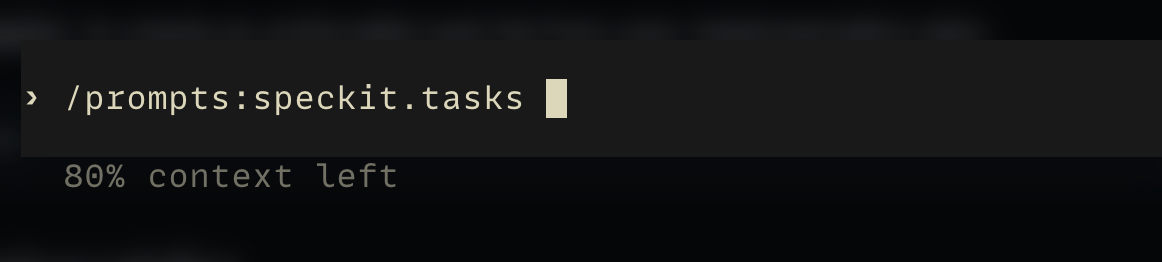
Again, you can verify the output in tasks.md.
3. Execution
Use /speckit.implement to execute all tasks and build the feature according to the plan and spec.

This is the end result:
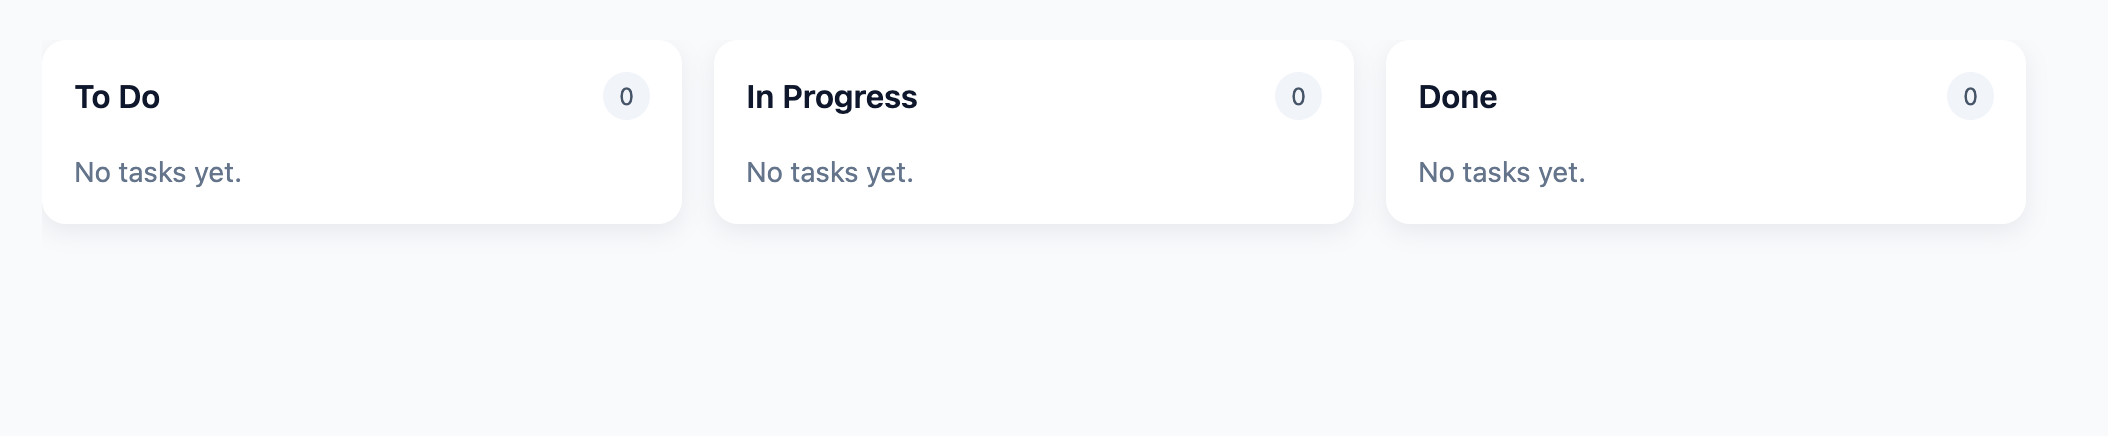
It looks pretty good, though in this specific run, the "Add Task" feature was missing.
Note: I tried this workflow multiple times. The results can vary, some runs yielded every feature but lacked the styling, while others nailed the style but missed a button. AI agents are powerful, but occasional variance is part of the current game.
Conclusion
By using SpecKit, we separated the task definition from the coding implementation. This "vibe coding on steroids" approach means that whether you are coding manually or using an AI Agent to fill in the blanks, the output is guaranteed to respect the architectural boundaries of your application.
We didn't just write code. We architected a system where spec.md acted as the immutable law, and Codex CLI enforced it. This results in a much more predictable prototype for your SaaS or side projects than blind prompting.
