
There are many tools to run LLMs locally, but in this tutorial, we will focus on Ollama. It is widely supported, easy to use, and has established itself as the standard for local inference, so we don't have to worry about it becoming obsolete anytime soon.
But before we dive into the technical setup, let's address the elephant in the room: Why run a local LLM when tools like ChatGPT or DeepSeek are free?
Why go local?
Privacy.
It really comes down to that one word. The phrase "Data is the new oil" isn't just a cliché, it’s the business model of most AI companies.
When you use most free LLMs, your inputs, code snippets, and conversational data are often used to train future versions of their models. If you are asking for a cookie recipe, this doesn't matter. But when it comes to software development where you might be pasting API keys, proprietary logic, or client data, the risk of leakage is real.
Running an LLM locally gives you equality of capability without the exchange of privacy. You get the intelligence, but your data never leaves your machine.
Part 1: Installing the Engine (Ollama)
Ollama is refreshingly easy to install.
- Go to ollama.com/download .
- Download the installer for your OS (macOS, Linux, or Windows).
- Run the installer.
Once installed, you could use the GUI:

But for the sake of developer coolness (and efficiency), let's stick to the terminal. Open your shell and run:
ollama -v
If you see a version number, you are good to go.
Next, we need a model. Head over to the Ollama Library to find one that fits your hardware.
Hardware Rule of Thumb:
- 8 GB RAM: Good for 7B models (or smaller 4B models).
- 16 GB RAM: Good for 13B models.
- 32 GB+ RAM: Needed for 33B+ models.
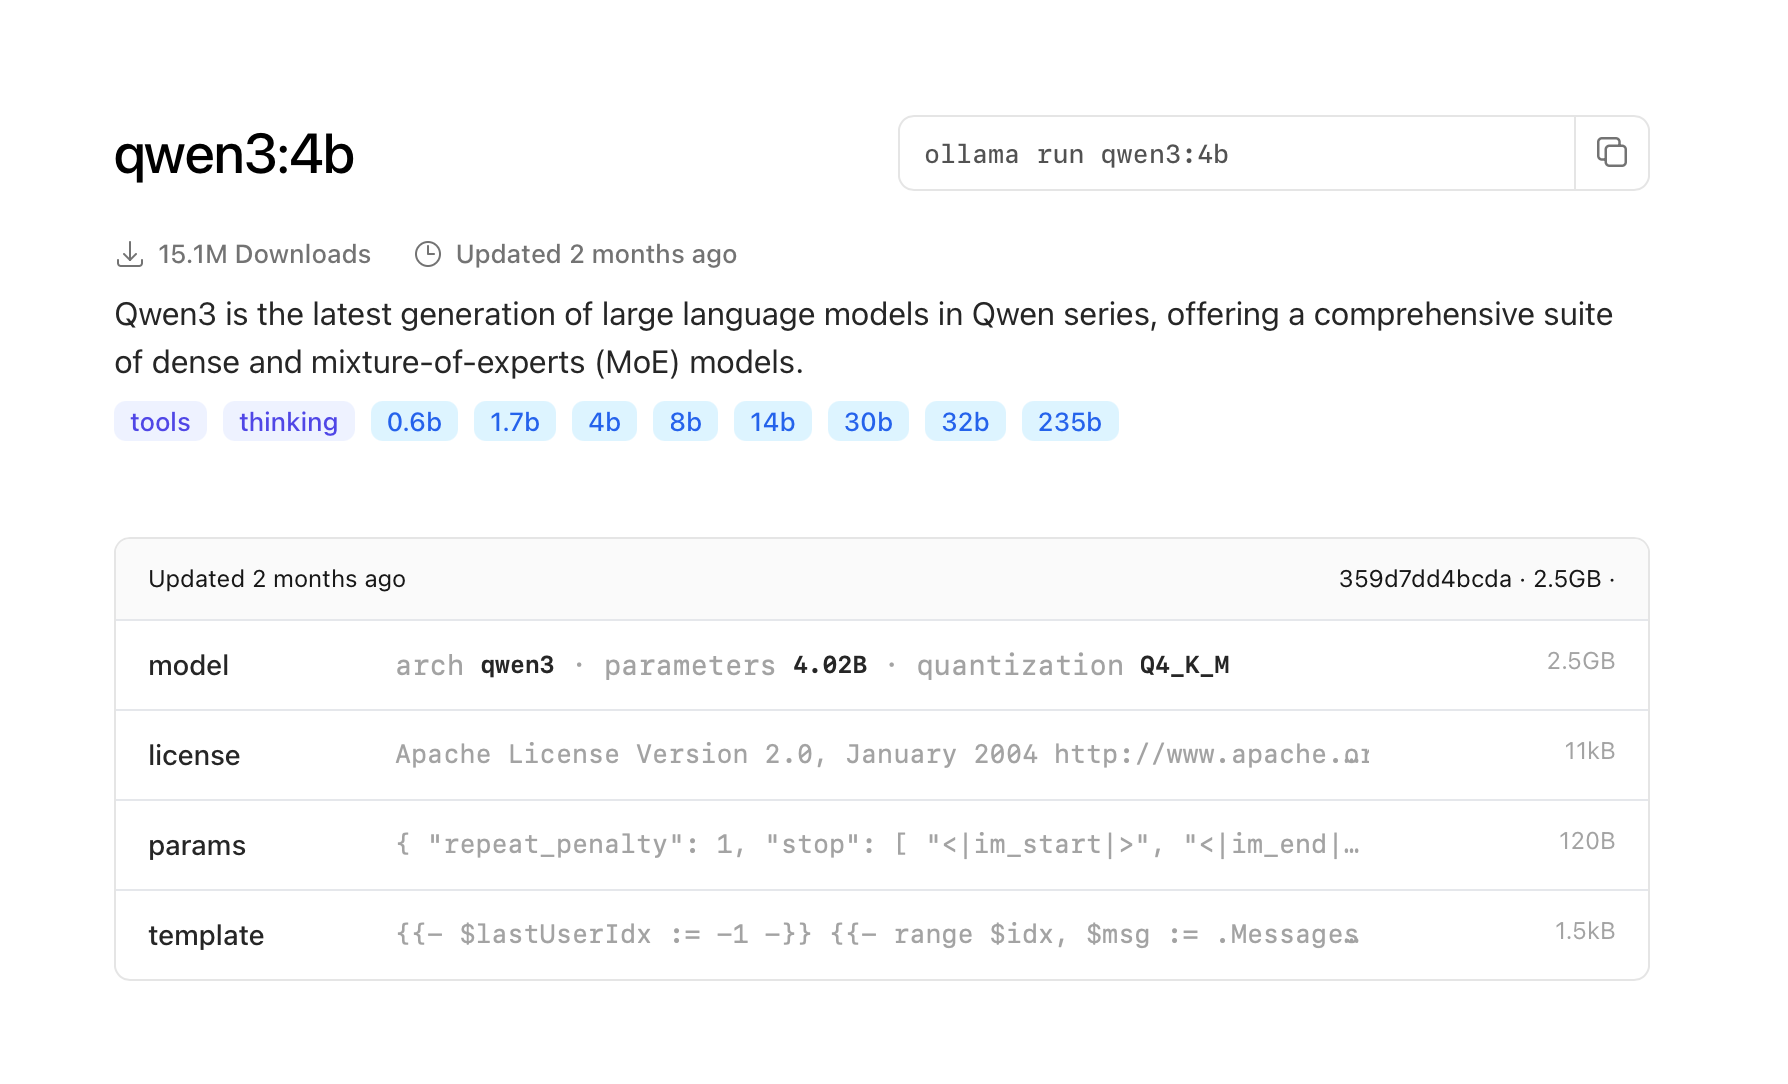
For this tutorial, I am using a Mac M4, so I'll choose qwen3:4b—a highly efficient model that balances speed and intelligence.
Copy the run command from the library page and paste it into your terminal:
ollama run qwen3:4b
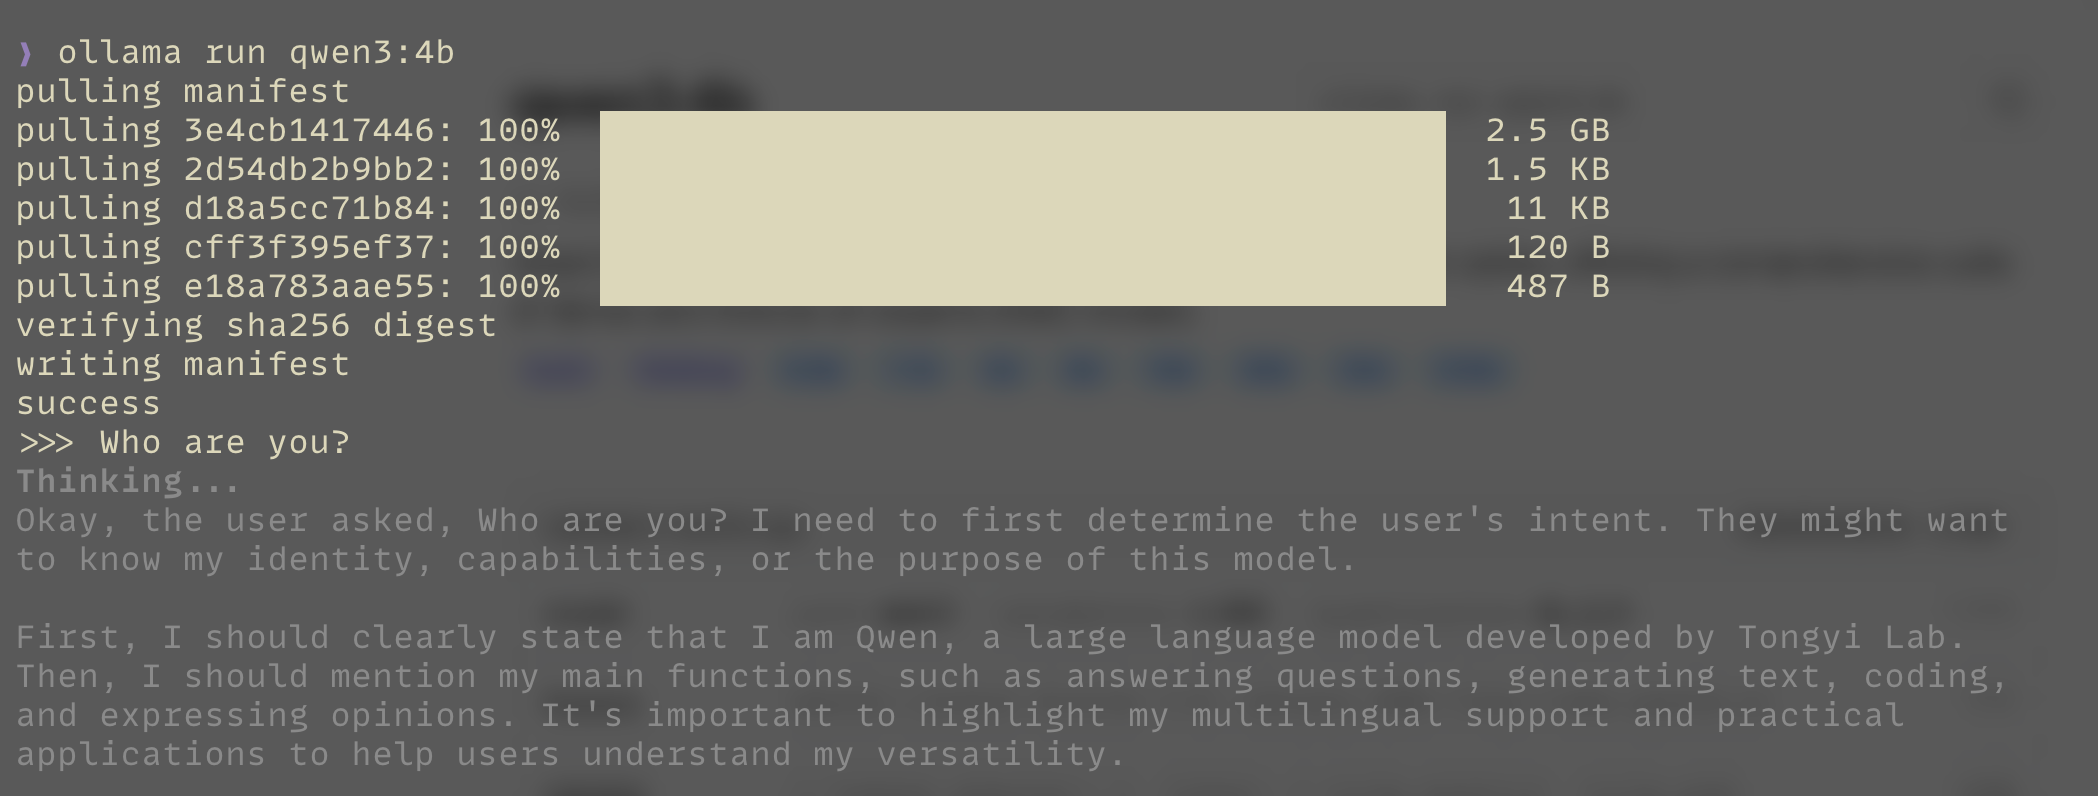

Just like that, you have an AI running locally on your machine.
Part 2: The Agent (Crush)
Now that we have the brain (Ollama), we need the hands.
Crush is an agentic AI tool that lives in your terminal, similar to GitHub Copilot CLI or Claude Code. It is currently in early development (v0.26.0), it’s still early software and definitely not perfect. However, it effectively gets the point across: it bridges the gap between a raw local model and an actual development workflow, allowing us to see the future of private coding agents today.
# Homebrew (macOS)
brew install charmbracelet/tap/crush

# NPM
npm install -g @charmland/crush

# Windows (Winget)
winget install charmbracelet.crush
Create a playground directory to test it out:
mkdir crush-test && cd crush-test
Part 3: Integrating Ollama with Crush
This is the critical step. We need to tell Crush how to talk to our local Ollama instance instead of OpenAI.
Create a configuration file in your project root:
touch .crush.json
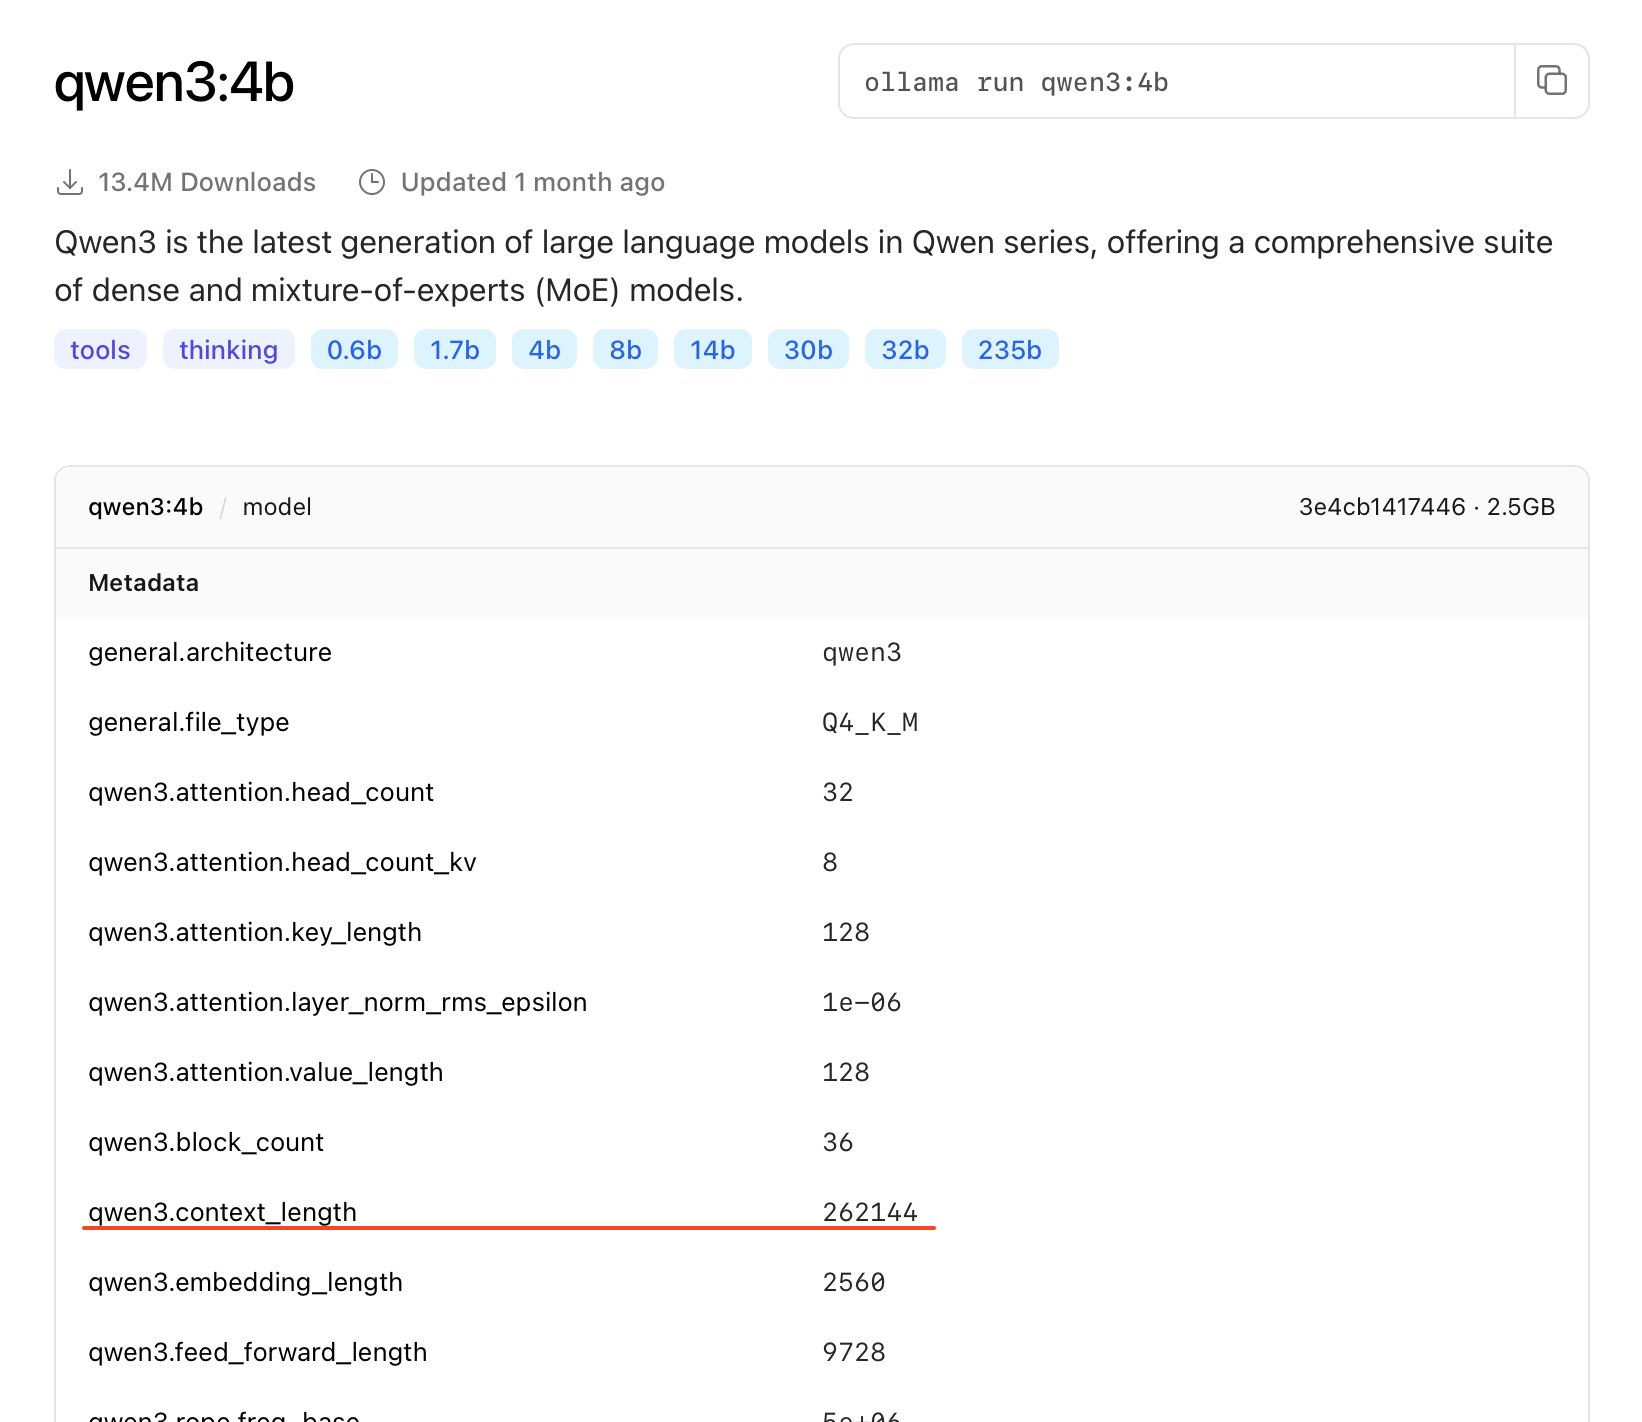
Add the following configuration and ensure the context_window matches our model's capabilities.
{
  "$schema": "<https://charm.land/crush.json>",
  "permissions": {
    "allowed_tools": [
      "view",
      "ls",
      "grep",
      "edit"
    ]
  },
  "providers": {
    "ollama": {
      "name": "Ollama",
      "base_url": "<http://localhost:11434/v1>",
      "api_key": "ollama",
      "type": "openai-compat",
      "models": [
        {
          "name": "Qwen 3 4B",
          "id": "qwen3:4b",
          "context_window": 32768,
          "default_max_tokens": 4096
        }
      ]
    }
  }
}
Tip: If you are not using qwen3:4b, make sure to update the "id" field to match the model you pulled in Part 1. You can find the correct context window size on the model's detail page on Ollama.com.
Part 4: The Test Run
Now, let's run it. Type crush in your terminal. It will detect your configuration and ask to initialize the project.
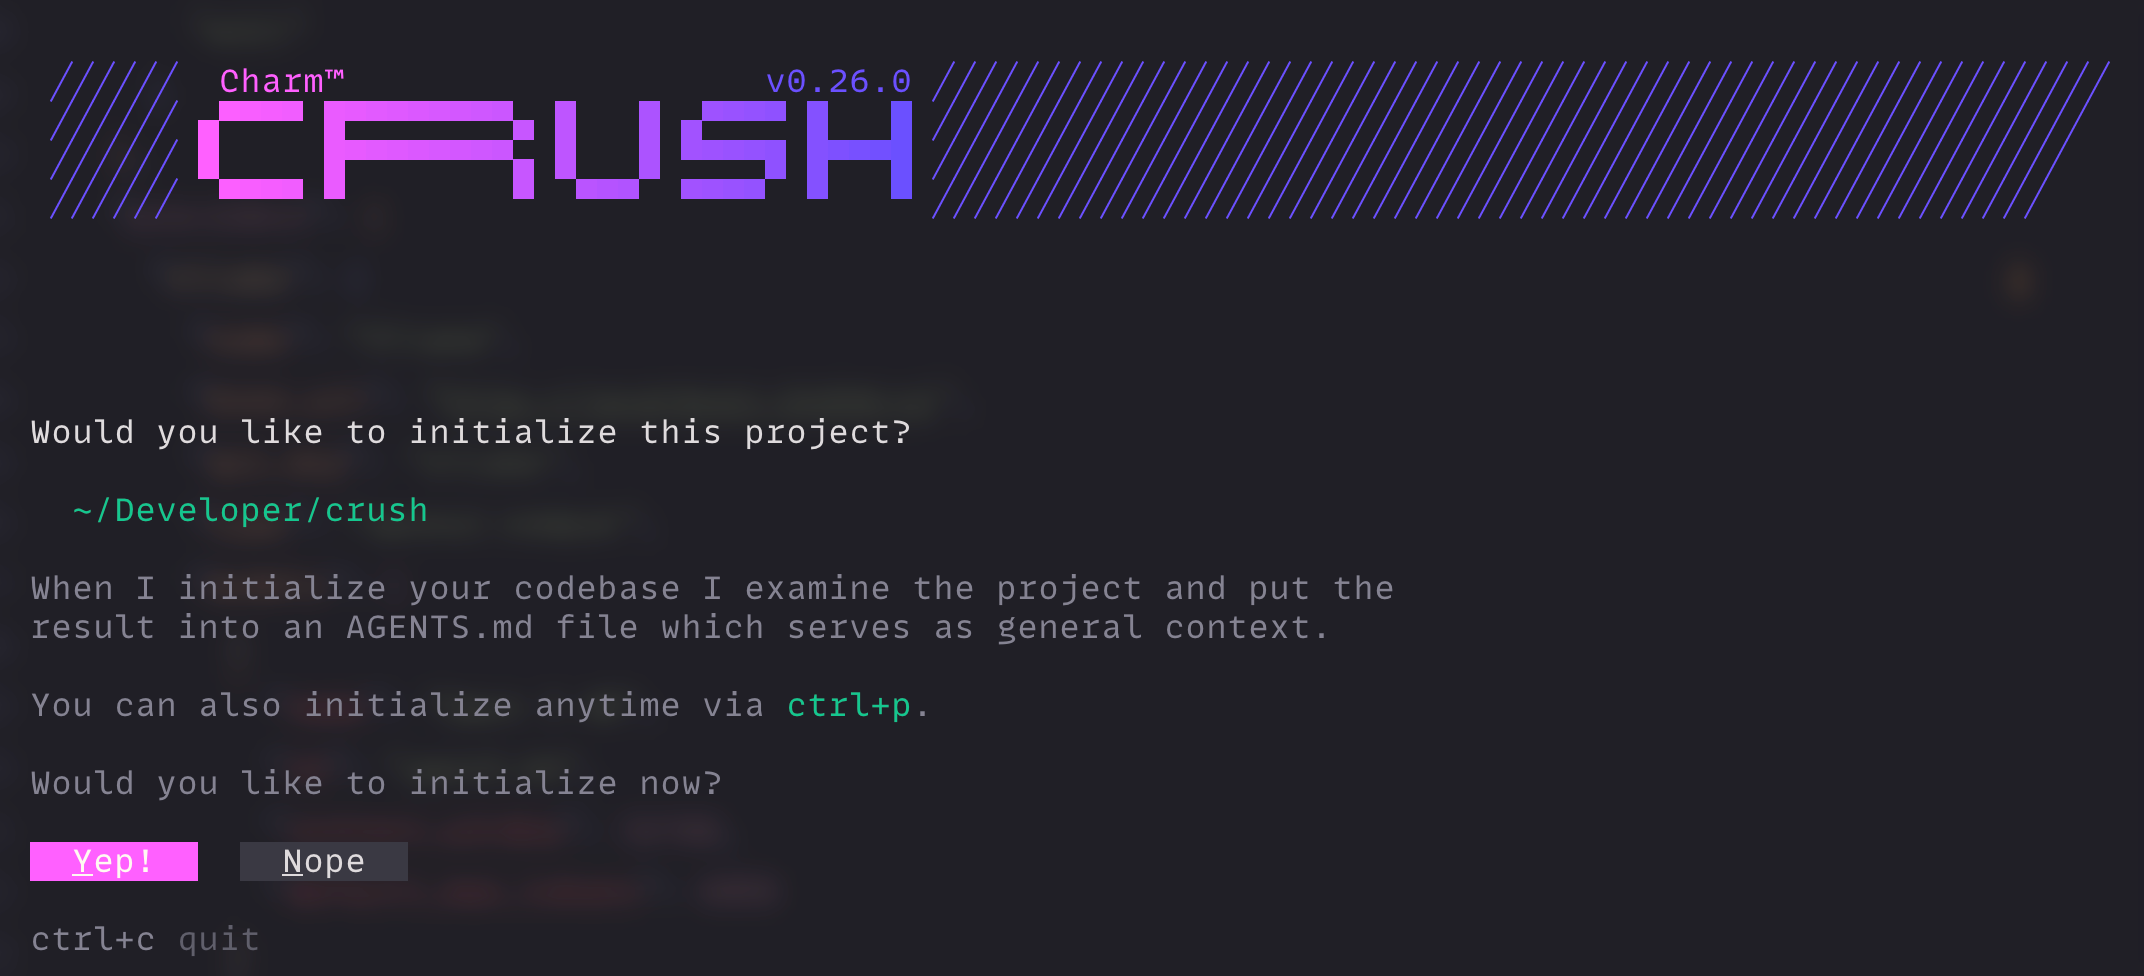
Select "Yep!" and wait.
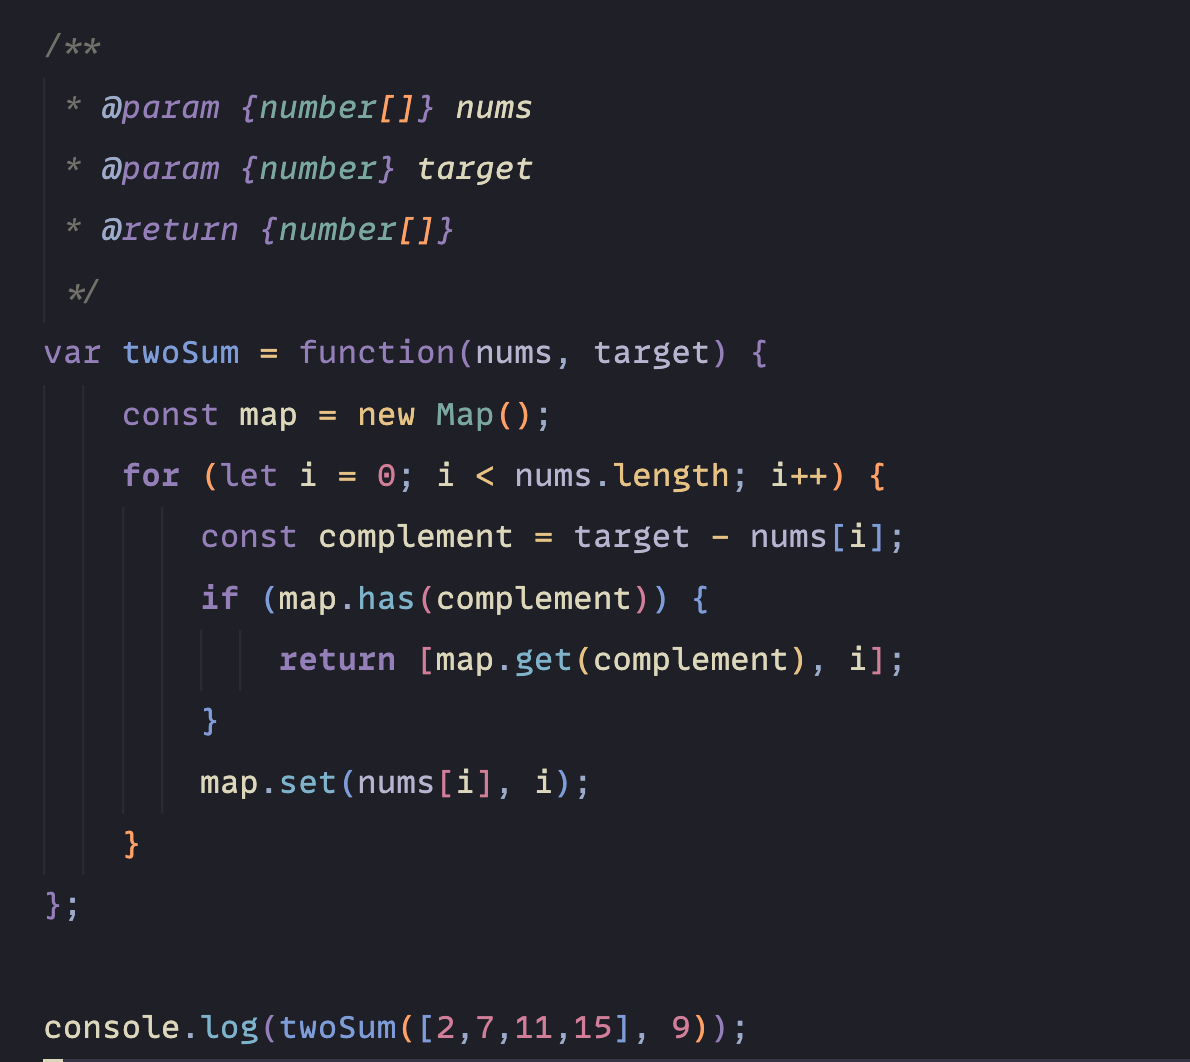
I asked Crush to create a simple JavaScript application: "Create a function that can solve the two sum problem."
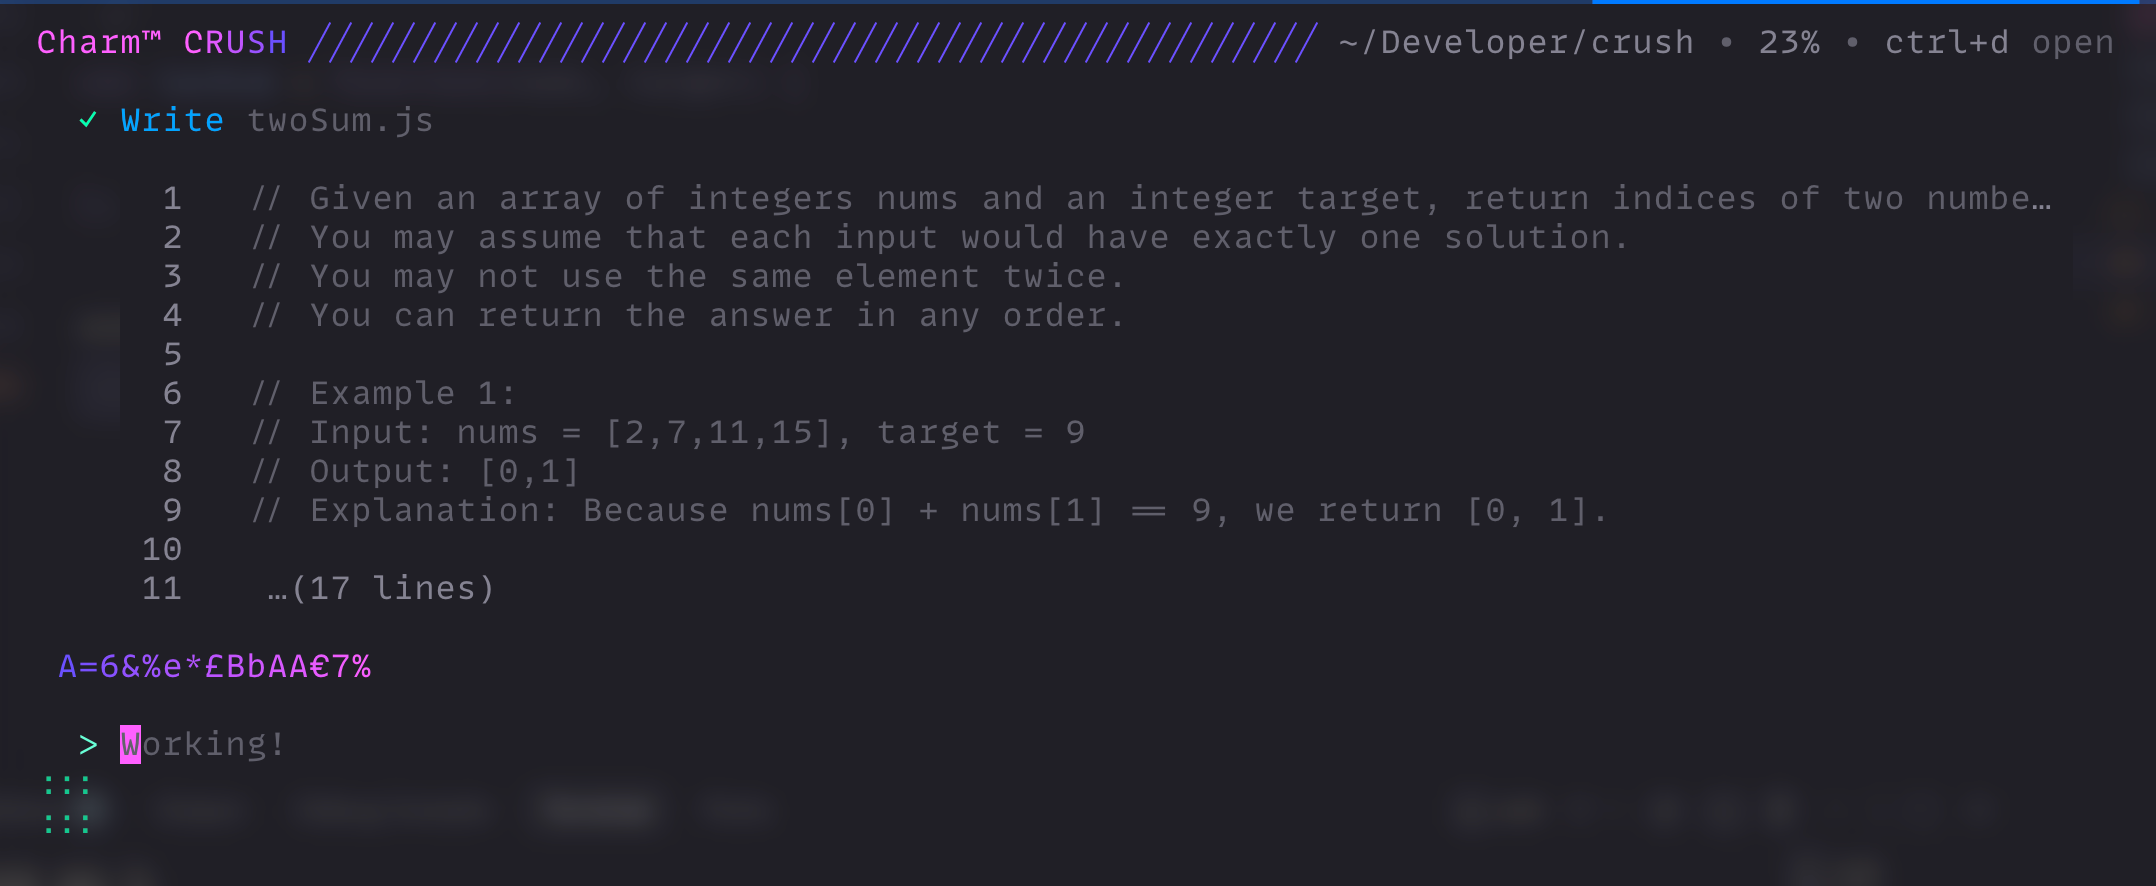
Because the model is running locally, it might take a moment depending on your hardware. In my test, it decided not to put the code in app.js but instead was smart enough to create a dedicated file: twoSum.js.
Conclusion:
There you have it, a completely offline, private AI development workflow.
To be honest, for heavy-duty refactoring or complex architecture planning, a paid cloud plan (like ChatGPT Team or Claude) is still superior; the reasoning capabilities of massive models are hard to beat with a laptop.
However, for drafting confidential documents, working with sensitive client algorithms, or just coding without an internet connection, this local setup is a game changer. It saves you money, and more importantly, it keeps your data yours.
