
We earn commissions when you shop through the links below.
PaaS (Platform as a Service) solutions are everywhere these days, but one that really grabbed my attention recently is Dokploy . It has a Vercel-like user interface but is self-hosted, which is exactly what I was looking for.
Coming from Dokku , having a GUI to manage my apps feels like a huge improvement (I don't hate the CLI, but a GUI is just easier). I liked it so much I decided to switch this very website, Devmystify, from Dokku to Dokploy.
This guide will walk you through setting up Dokploy and deploying an application using Docker Compose.
Before we jump in, I'll assume you already have:
- Your own Droplet: a DigitalOcean VPS works great (that’s what I personally use, you can get one here with $200 in credit ), but a VPS from another provider will be fine as well.
- A domain name: I’ve been using Namecheap for all my domain name needs for years ( click here to get one ).
Now, let’s get started!
Step 1: Install Dokploy on Your Droplet
Installing Dokploy on your VPS is incredibly simple. First, make sure you are logged in as the root user or have sudoprivileges. Then, you can either SSH into your Droplet or use the online terminal from DigitalOcean and run this single command:
curl -sSL <https://dokploy.com/install.sh> | sh
After the command finishes, the installation will prompt you with the link to your Dokploy dashboard:
Congratulations, Dokploy is installed!
Wait 15 seconds for the server to start
Please go to http://<your-ip-from-your-vps>:3000
And just like that, you've successfully installed Dokploy on your Droplet! Pretty easy, right?
Step 2: Initial Dokploy Configuration
Navigate to the link from Step 1, and you'll be taken to the initial setup page. Simply fill out the form to create your Dokploy owner account. Once your account is ready, log in to your new dashboard.
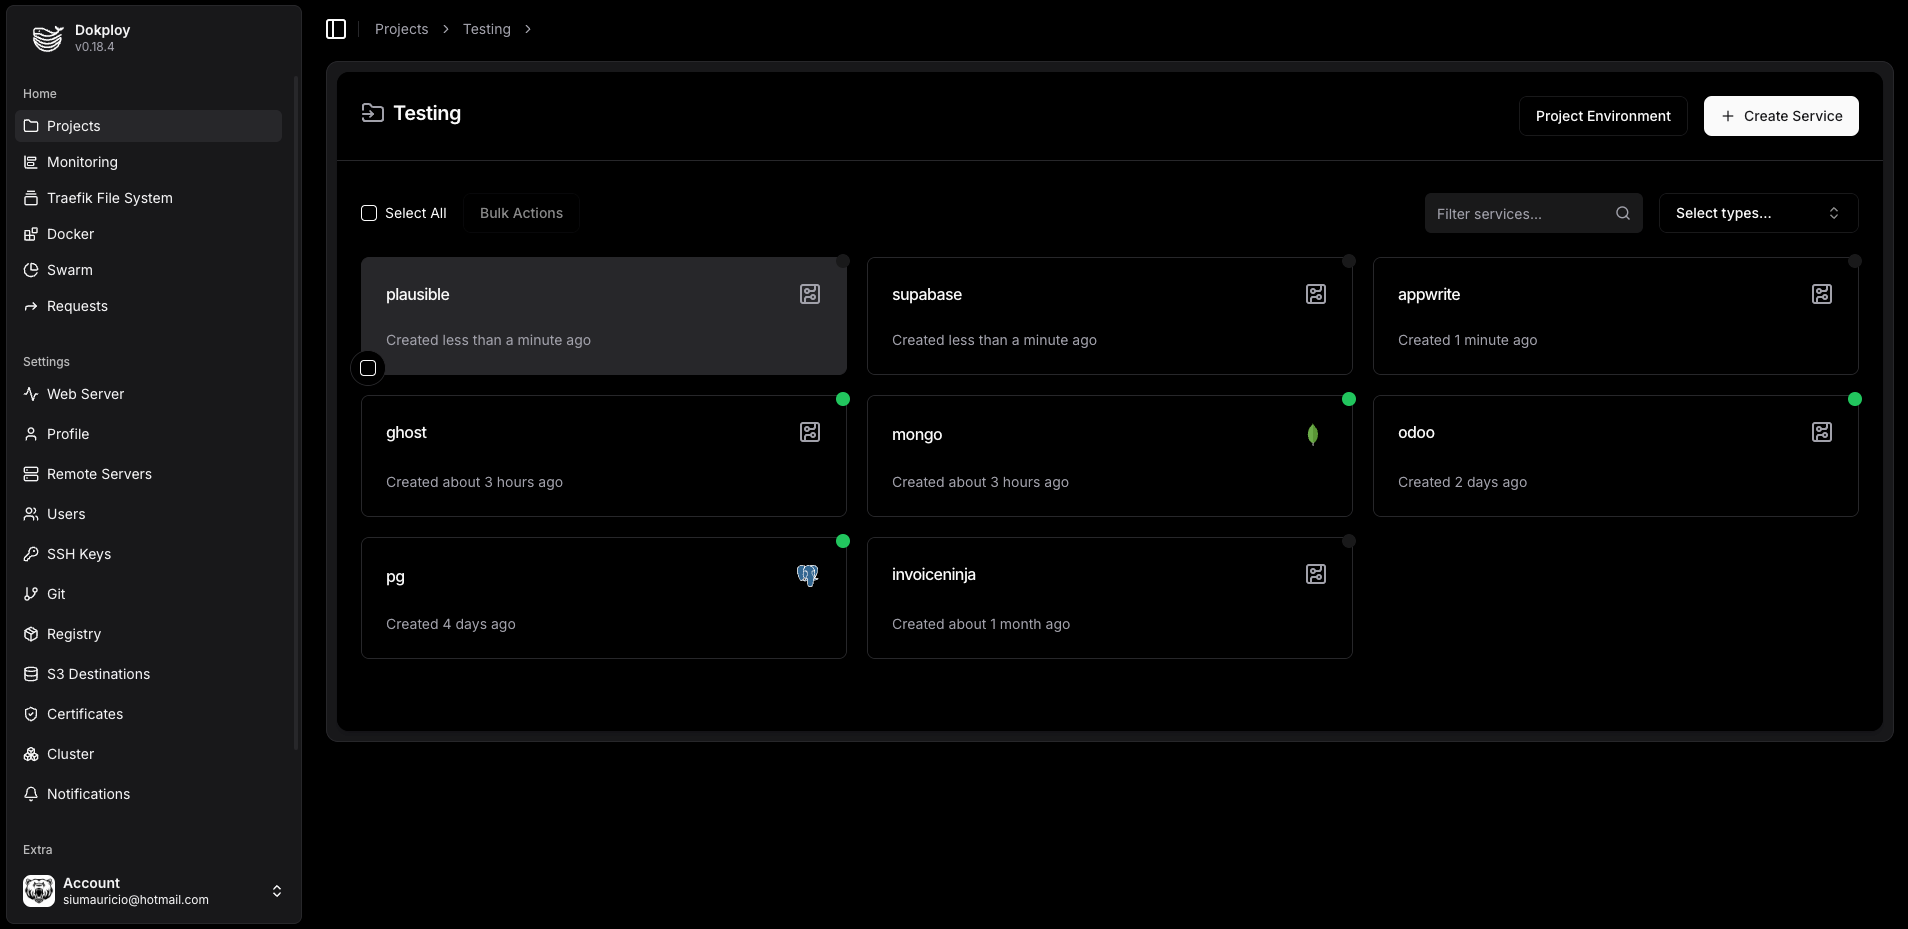
The UI looks really clean. Now, we need to set up a domain and HTTPS for our Dokploy dashboard.
Before you proceed, make sure you've created an A record in your domain's DNS settings that points to your Droplet's IP address. For example, if your domain is example.com, you'll want to point dokploy.example.com to the Droplet's IP.
Go to the Web Server menu on the left side, and you will see the following form👇:
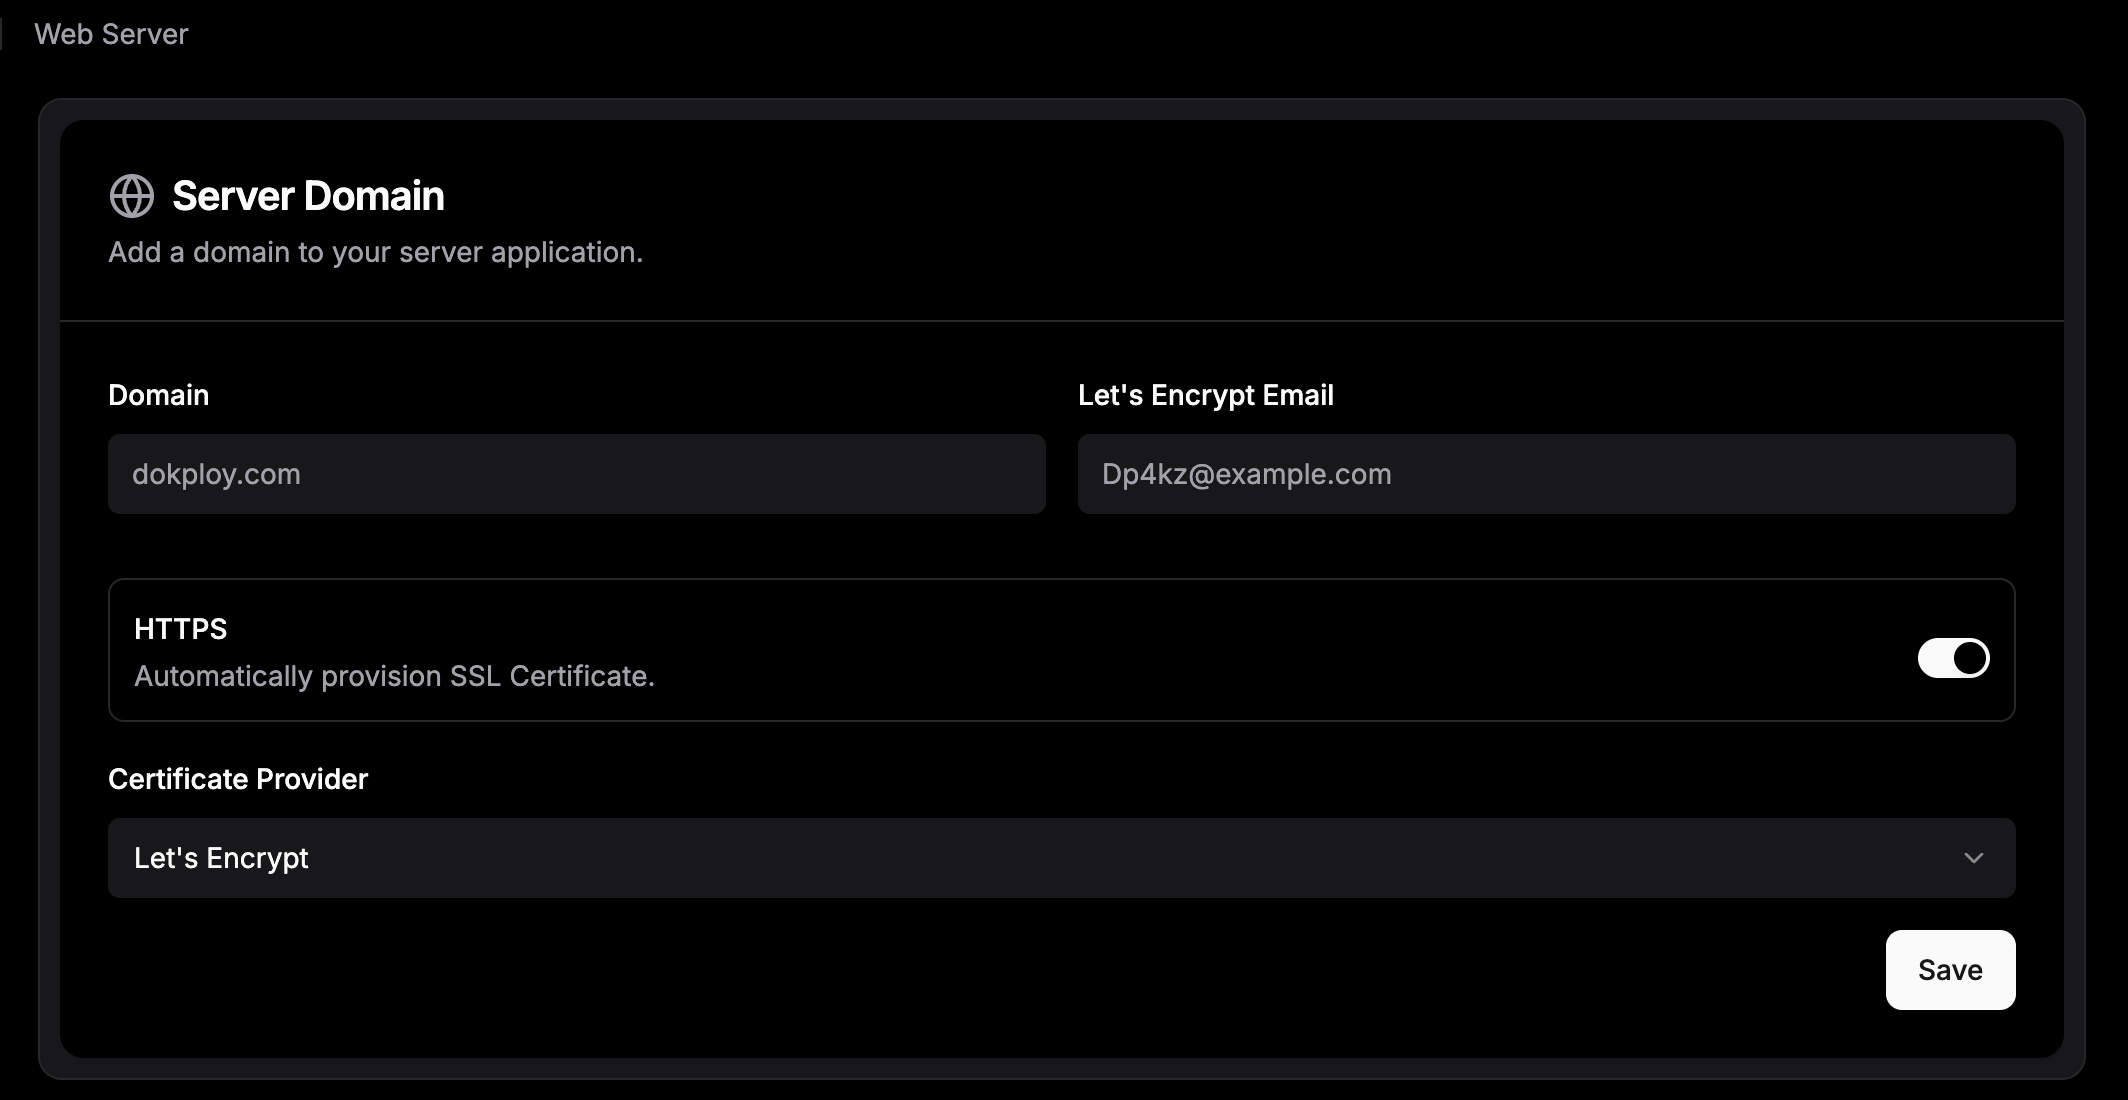
Fill out the form with your domain name and select the HTTPS with Let's Encrypt option. Click Save. Dokploy will handle the rest, but note that it can take a few minutes for the DNS to propagate and the SSL certificate to be issued.
With that done, you now have a secure link to your dashboard.
Step 3: Deploying the app
Now for the fun part! Dokploy offers several ways to deploy services. Let's quickly go over each option:
- Applications: You can use your repository, select a branch and a build path, and then deploy your application.
- Databases: Deploy a single database (Postgres, MySQL, MariaDB, MongoDB, and Redis) of your choice.
- Compose: This is similar to Applications, but you select a
docker-compose.ymlfile instead of a build path. - Template: Choose and deploy an open-source application from Dokploy's templates, such as n8n or Supabase.
Before we get to the deployment, it's important to understand how Dokploy handles networking. Imagine Dokploy is a big office building. When you deploy each service—like your application or a database—separately through the UI, it's like putting each one on its own private floor. Each floor has its own secure network system, so an app on one floor can't connect to a database on a different floor.
This is why we can't connect a separately deployed database to our app using a simple internal connection string. But if we use a docker-compose.yml file, it's like we're using a single blueprint to place both services on the same floor. The external: true setting is the key that lets your new services use the existing building network, so they can talk to each other and with Dokploy's core services, all within the same secure environment.
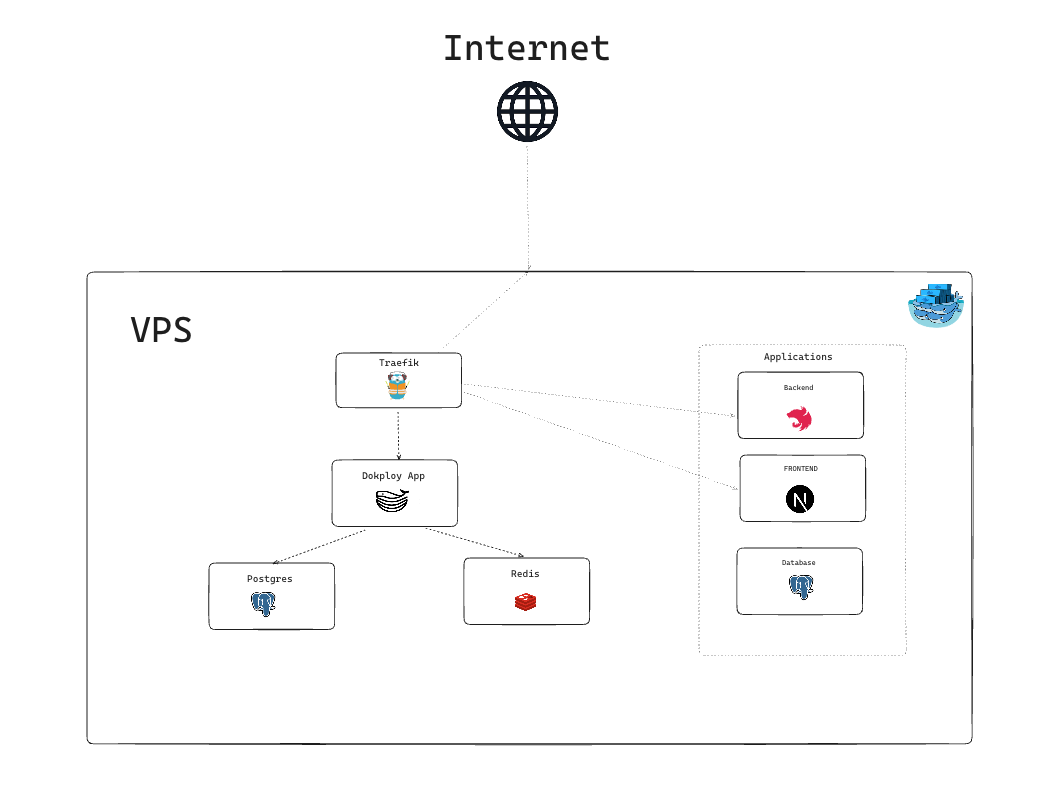
Thanks to the Dokploy team for this clear visual explanation!
Here's the docker-compose.yml file we'll use for both our app and database:
services:
  db:
    image: postgres:15
    restart: always
    environment:
      POSTGRES_USER: tutorial-user
      POSTGRES_PASSWORD: tutorial-password
      POSTGRES_DB: tutorial-db
    volumes:
      - tutorial-db:/var/lib/postgresql/data
    networks:
      - dokploy-network

  tutorial-app:
    build:
      context: .
      dockerfile: Dockerfile
    env_file:
      - ./.env
    restart: always
    depends_on:
      - db
    networks:
      - dokploy-network

volumes:
  tutorial-db:

networks:
  dokploy-network:
    external: true
With this setup, your application can connect to the database using the internal connection string:
postgresql://tutorial-user:tutorial-password@db:5432/tutorial-db
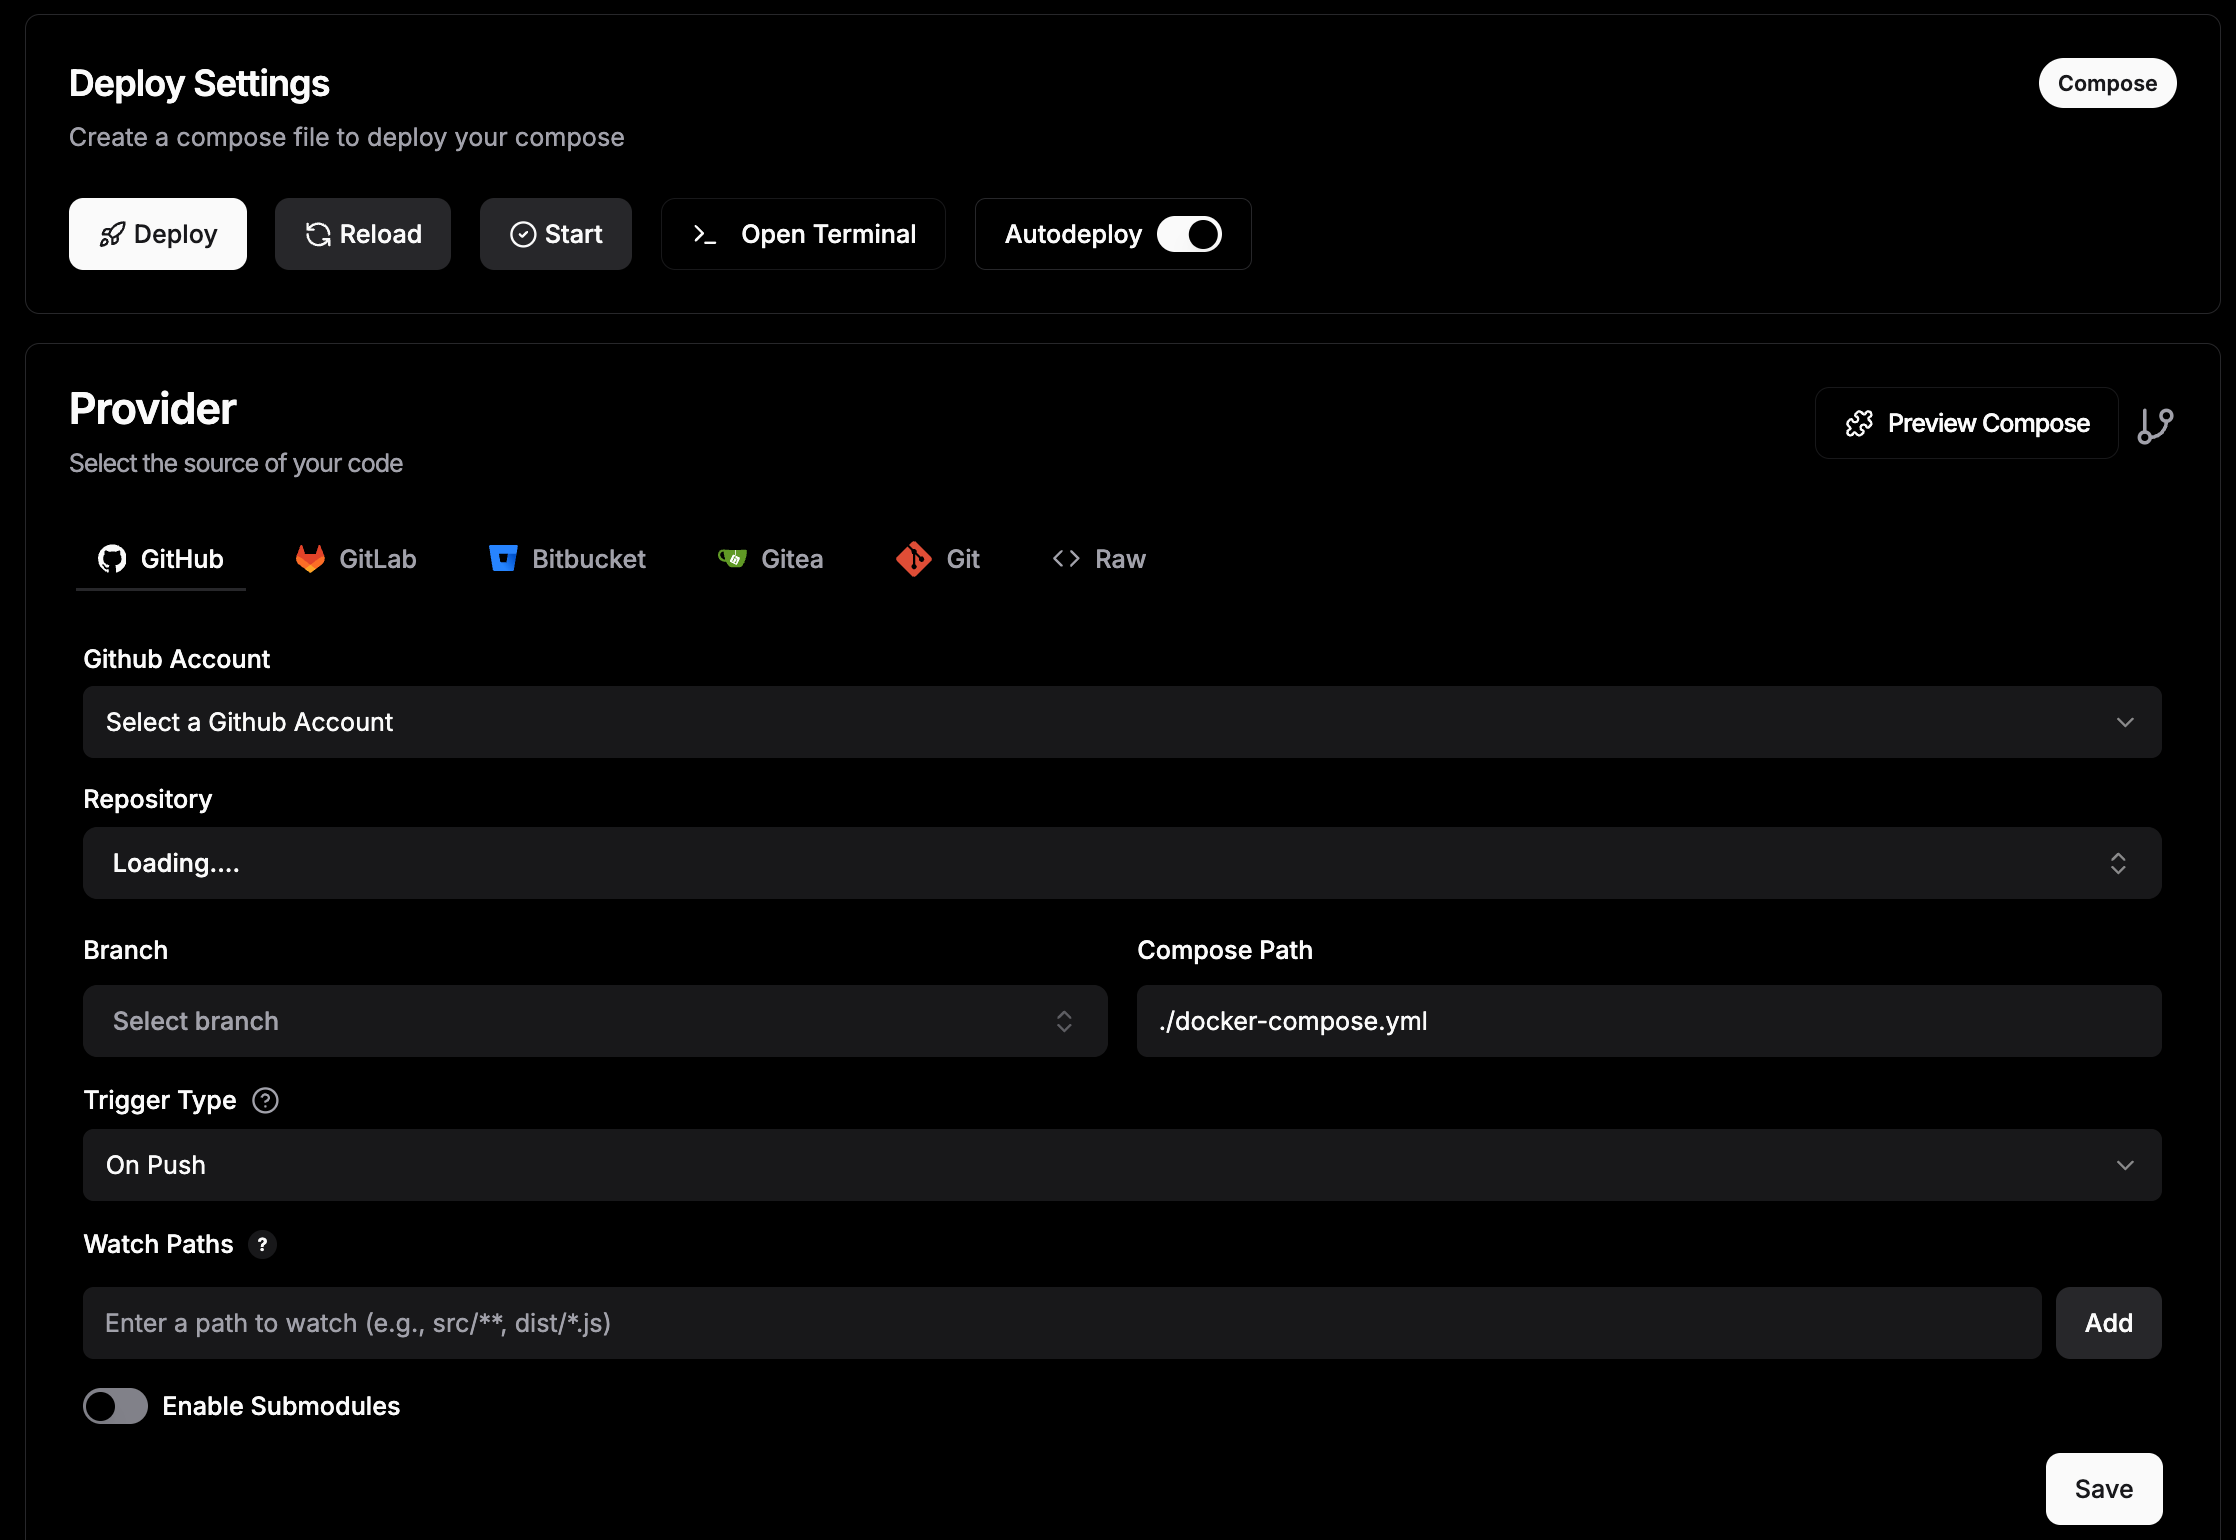
With everything prepared, the rest is easy. Simply select your linked GitHub account, choose the repository and branch, and specify the path to your docker-compose.yml file. Then, click Save and Deploy 🚀.
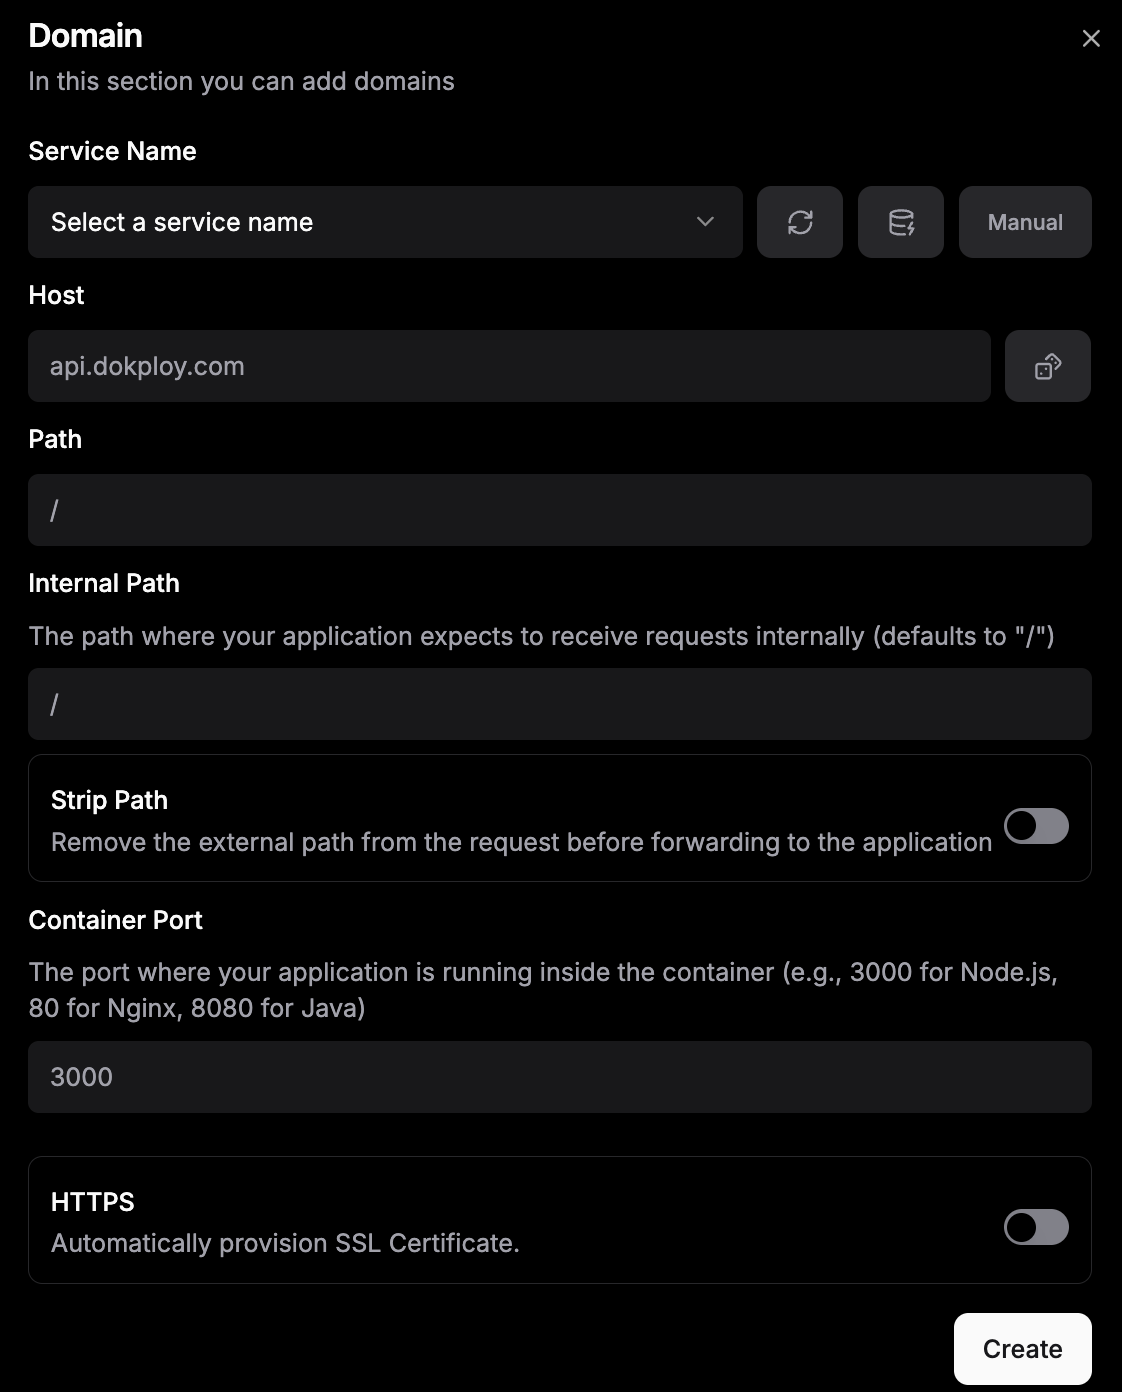
Step 4: Exposing the app
Now that your application is up and running, there's just one step left: making it accessible to the world.
Navigate to the Domains tab. Select the service you want to link to a domain (in our case, the service name is tutorial-app). If you don't have any special configurations, just fill out the form: enter your domain name in the Host field, activate HTTPS with Let's Encrypt, and click Save.
And just like that, you have a live application!
Wrap up
This wasn't a long tutorial because Dokploy makes deploying applications incredibly simple. You get a clean, modern GUI, easy-to-access logs, automatic redeployment on every code push (CI/CD), and many more features out of the box. And since it's self-hosted, it's completely free!
If you want to support the Dokploy team, they also offer a managed service called Dokploy Cloud . It's worth checking out if you're interested. I hope this tutorial demonstrates how easy it is to host your application with Dokploy. If you have any suggestions or questions, feel free to leave a comment below!
