

Ready to setup a static website for your blog? You are in the right place!
Introduction
Here's a quick reminder of what you need to know about this option:
- Price: FREE
- Difficulty: Medium
- Knowledge: Git, Markdown, GitHub
- Required Tools: GitHub account, Internet Browser, Text Editor
And here are the pros and cons for this solution:
Pros
- Totally Free
- Super fast (only static files)
- Easy to make changes (edit, commit & push)
Cons
- A bit of tech knowledge is required
- Need to pay for a domain name (to avoid the url
myblog.github.io) - Have to use Disqus for comments
Tool Descriptions
To complete this tutorial, you will need to use the following tools. Showing you how to use some of them is out of the scope of this article so don't hesitate to read the linked resources before continuing.
Git: Git is a Version Control System widely used in the software engineering world to allow teams to work on the same source code. It is not limited to code however and can be used for anything requiring version control, articles for a blog for example. Learn it in 15 minutes here.
GitHub: GitHub is one of the most famous Git repository hosting service. Nothing complicated once you know Git.
Jekyll: Jekyll: "Jekyll is a simple, blog-aware, static site generator." From plain text files written with markdown (or other markup languages), it will generate a static website for you. We'll learn how to use it in this tutorial.
Markdown: Markdown is a simple markup language that let people focus on writing and not formatting. Learn how to use it.
Build it!
Here's how we're going to do it. First, we'll create a GitHub account and a repository to host the content of our website. Then, we will generate our website in local using Jekyll (after installing it). The next logic step is to push our local version to GitHub to get our website online. Finally, we'll improve the default static website generated by Jekyll. Let's go!
1. Create a GitHub account and a new repository
Head over to Github and create a new account if you don't have one already.
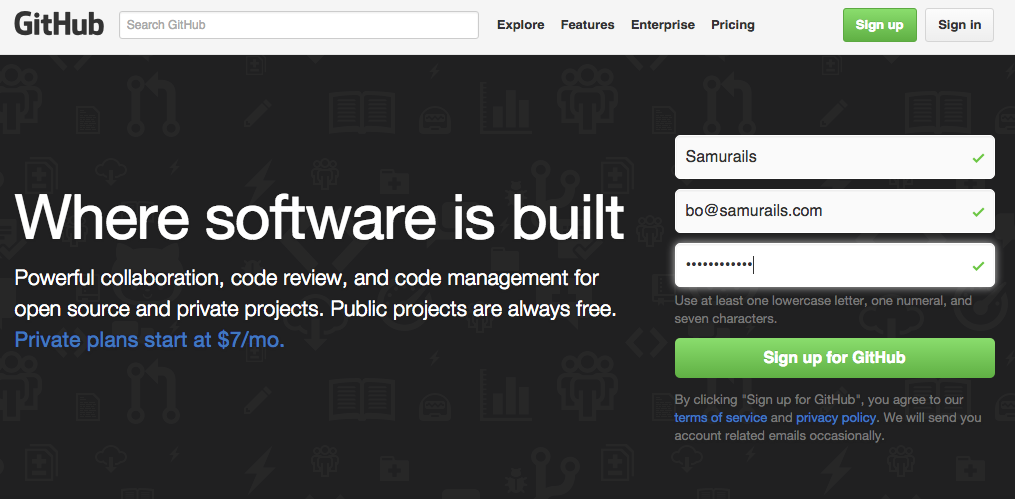
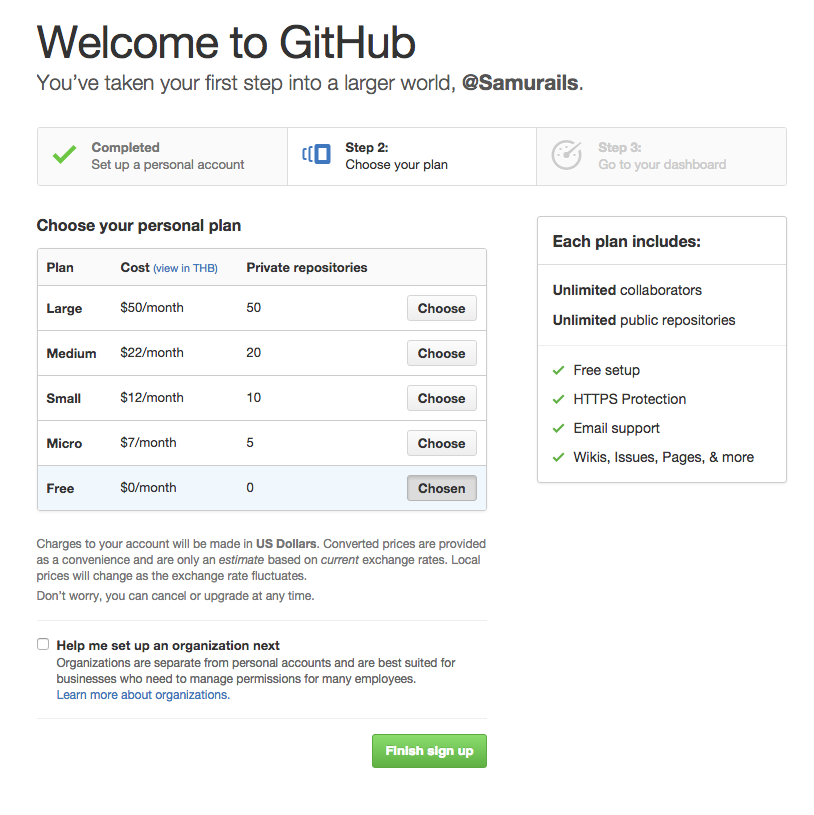
Choose the free option.
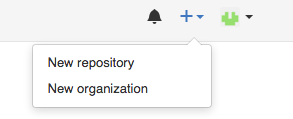
Check your inbox for the verification email and verify your account. Then go back to Github and create a new repository by clicking on 'New repository'.
Fill in the information and click on create. You need to use the format YOUR_USERNAME.github.io to make it work.
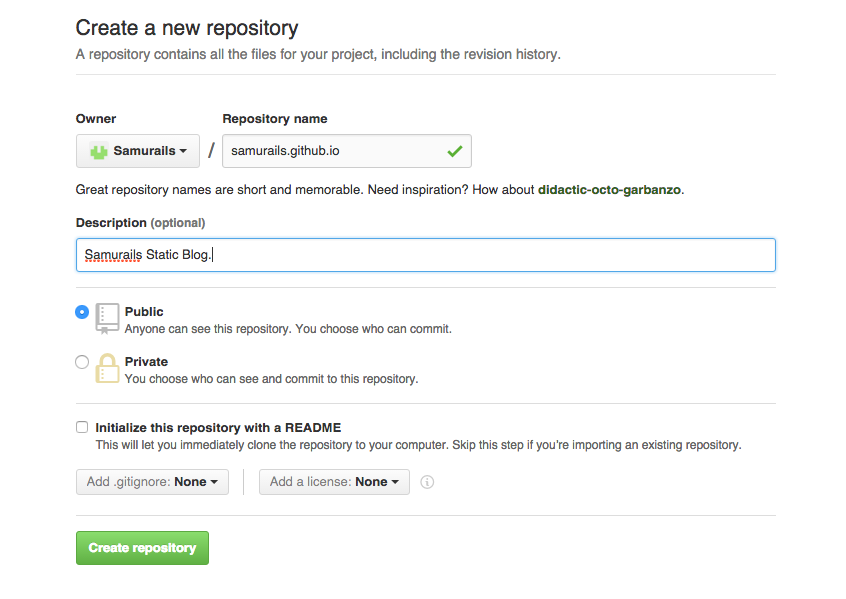
Click on Create. You will then be taken to a page to get started on your new repository. Copy the given URL and save it for later.
2. Setup Jekyll in local
First, you will need to install Ruby. If you don't have it yet, follow this tutorial.
You will also need
Bundlerso if you don't have it installed yet, rungem install bundler.Now, let's install Jekyll. We're going to use a Gem named
gitHub-pageswhich comes with Jekyll and all the required tools. Let's install this gem withgem install github-pages.
3. Setting up your Jekyll blog
Now that Jekyll is installed, you can create your new blog with the following command:
jekyll new YOUR_WEBSITE_NAME
Which will generates a folder with the following structure:
YOUR_WEBSITE_NAME/
  .gitignore
  _config.yml
  _includes
  _layouts
  _posts
  _sass
  about.md
  css
  feed.xml
  index.html
Next we're going to initialize Git in your directory, so move inside of it with cd YOUR_WEBSITE_NAME.
Run the following commands to start versioning your static website with Git.
git init
git add .
git commit -m 'Initial Commit'
Next we'll create a Gemfile. Why? Well, if you work on your website/blog from other computers, you will need to re-install Jekyll multiple times. The easiest way to do this is simply adding a Gemfile to the project that will contain the dependencies (i.e. github-pages).
Create a file named YOUR_WEBSITE_NAME/Gemfile and put the following inside:
source 'https://rubygems.org'
gem 'github-pages'
Then run bundle install. Let's commit the new files (Gemfile and the newly generated Gemfile.lock).
git add . && git commit -m 'Add Gemfile'
Before we push our new blog to GitHub, let's try it in local and write an article.
4. Running Jekyll in local
It's pretty easy to run Jekyll in local, just run the following command from your website/blog folder.
bundle exec jekyll serve
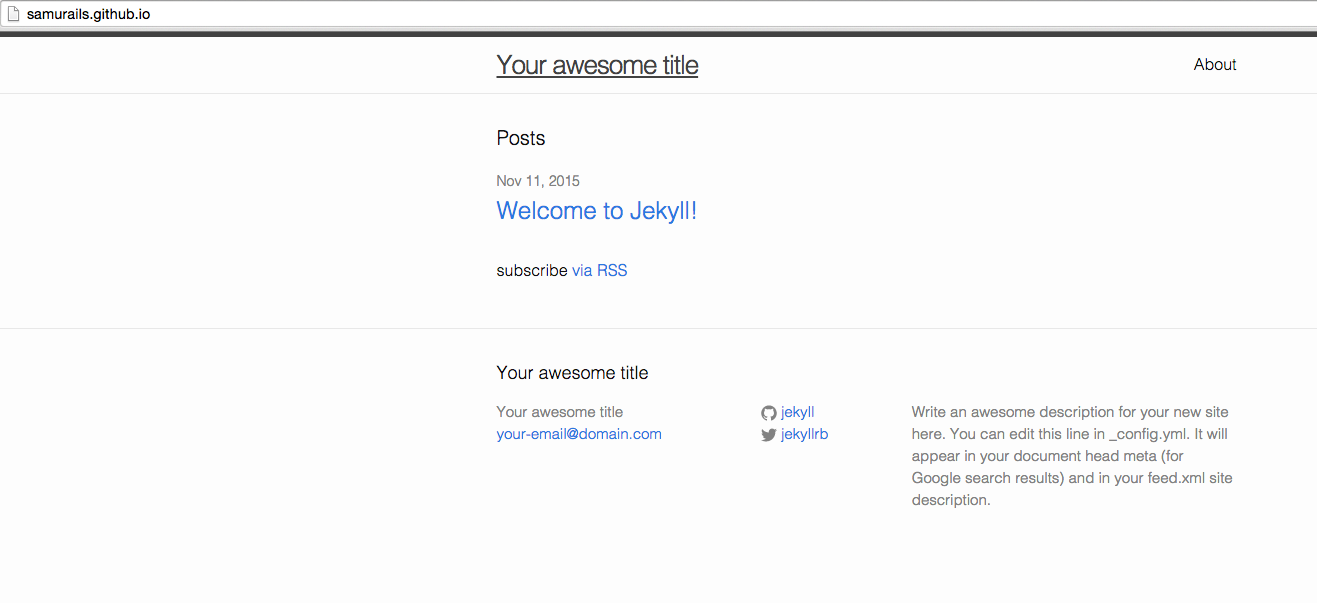
Now if you access http://localhost:4000, you should see the following:

Congratulations, you now have Jekyll up and running... in local!
5. Pushing it live
We did before so it shouldn't be too hard. Just run the two following commands and everything should be pushed to Github correctly. Don't forget to replace YOUR_USERNAME with your actual Github username.
git remote add origin https://github.com/YOUR_USERNAME/YOUR_USERNAME.github.io.git
git push origin master
Et voila!
6. Configuration
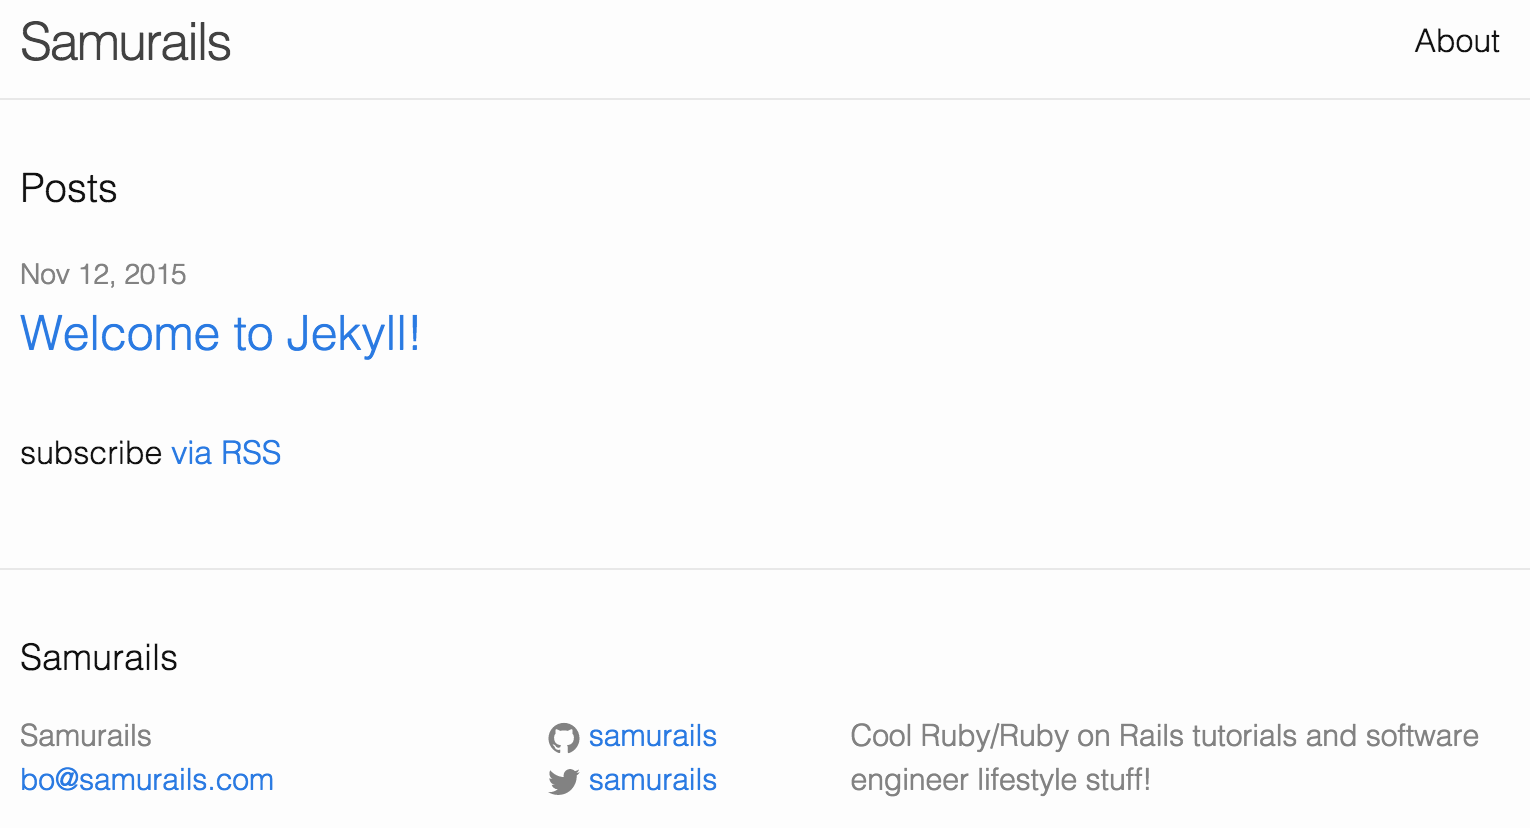
Now that we have a running website (mine is available at samurails.github.io), let's customize it.
Start the Jekyll server with jekyll serve if it's not already running.
First, let's open _config.yml. You should see something like this:
# Site settings
title: Your awesome title
email: your-email@domain.com
description: > # this means to ignore newlines until "baseurl:"
  Write an awesome description for your new site here. You can edit this
  line in _config.yml. It will appear in your document head meta (for
  Google search results) and in your feed.xml site description.
baseurl: "" # the subpath of your site, e.g. /blog/
url: "http://yourdomain.com" # the base hostname & protocol for your site
twitter_username: jekyllrb
github_username:  jekyll

# Build settings
markdown: kramdown
Change the content of all the fields to whatever you want (they're pretty self-explanatory), restart the server and check http://localhost:4000/. You should see everything updated correctly.
7. The About section
Now that our blog is configured, let's change the About section with some actual information. To change it, we're going to modify the file about.md. Currently, the content should be the following:
---
layout: page       # ---> Type of the page (page or post)
title: About       # ---> Name of the page
permalink: /about/ # ---> Path of the page
---

This is the base Jekyll theme. You can find out more info about customizing your Jekyll theme, as well as basic Jekyll usage documentation at [jekyllrb.com](http://jekyllrb.com/)

You can find the source code for the Jekyll new theme at: [github.com/jglovier/jekyll-new](https://github.com/jglovier/jekyll-new)

You can find the source code for Jekyll at [github.com/jekyll/jekyll](https://github.com/jekyll/jekyll)
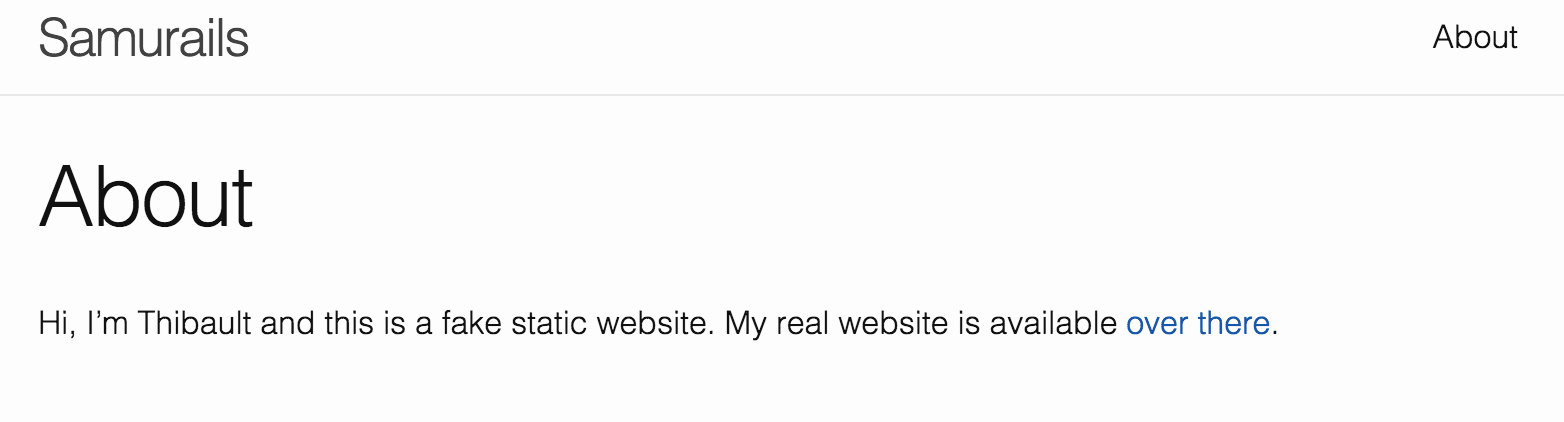
Leave everything between the two ---. Those are meta-data used by Jekyll to generate your website. You can update the rest with actual info about you. Here's the one I made for samurails.github.io.
---
layout: page       # ---> Type of the page (page or post)
title: About       # ---> Name of the page
permalink: /about/ # ---> Path of the page
---

Hi, I'm Tibo and this is a fake static website. My real website is available [over there](//samurails.com).
And here's the result:
8. Writing our first post
Alright, our static website is ready! Now we just need to add content. There's already an article but let's remove it and create a real one. Posts have to be created in the folder _posts/ and need to be formatted as YEAR-MONTH-DAY-title.md.
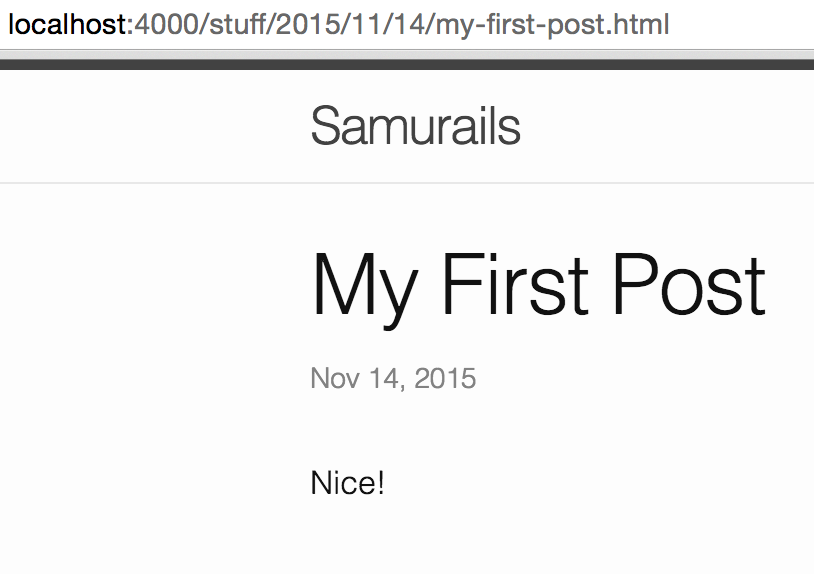
Let's create one now, I will call mine 2015-11-13-my-first-post.md.
Next we need to define the meta-data of our post and add a bit of content:
---
layout: post
title:  "My First Post"
date:   2015-11-13 21:00:00
categories: stuff
---

Nice!
And we end up with:
Well that's it, you're all set to write some awesome articles for your website or blog!
9. Pushing our article
We got a new article and I'd like everyone to be able to read it. To do this, we need to use Git and push it to the GitHub repository just like we did previously.
git add .
git commit -m 'My First Post'
git push origin master
And we're done. Checkout the results at samurails.github.io.
What to do next?
So now we have a running static website configured and with one post. You can make more improvements on it by doing the following things:
1. Setup Disqus
Since our new website is static, we don't have a database to store our comments. Do not worry, there is a solution. Simply use Disqus! All you need is signup and add a bit of Javascript and you will have a comment system in your blog!
2. Find a new theme for your blog
Next you will want to differentiate your website/blog from what everyone else is doing. To do this, you need a new theme! You can get one for free or purchase one from Envato for example.
3. Setup a custom domain name
Finally, if you don't like the format YOUR_USERNAME.github.io, you can get a custom domain name from Namecheap for less than $10 (for a .com).
The End
I hope you enjoyed this article and that you got your static website up and running. If you had any issues along the way, let me know in the comments or contact me directly ;)